Install and sync a registry
Install a SkillHub registry (or one skill) into a project, keep git status clean, and sync a teammate's publish.
This is the consumer journey. You'll find a registry in the dashboard, install
it (or a single skill, or a curated skillset) into a project with skillhub,
confirm your repo stays untouched, and then pick up a teammate's later publish
with a single skillhub sync — including the frozen variant CI uses to fail on
drift.
Both paths run side by side: browse and decide in the web dashboard, apply and reconcile from the CLI.
Find what to install in the dashboard
Everything installable has a page. The fastest way to decide what to pull into a project is to browse to it first — the dashboard shows you the registry, its skills, versions, and provenance before a single byte lands on your machine.
Start at the dashboard home and follow the path into a registry, then into a skill. The home page lists the organizations and registries you can reach.
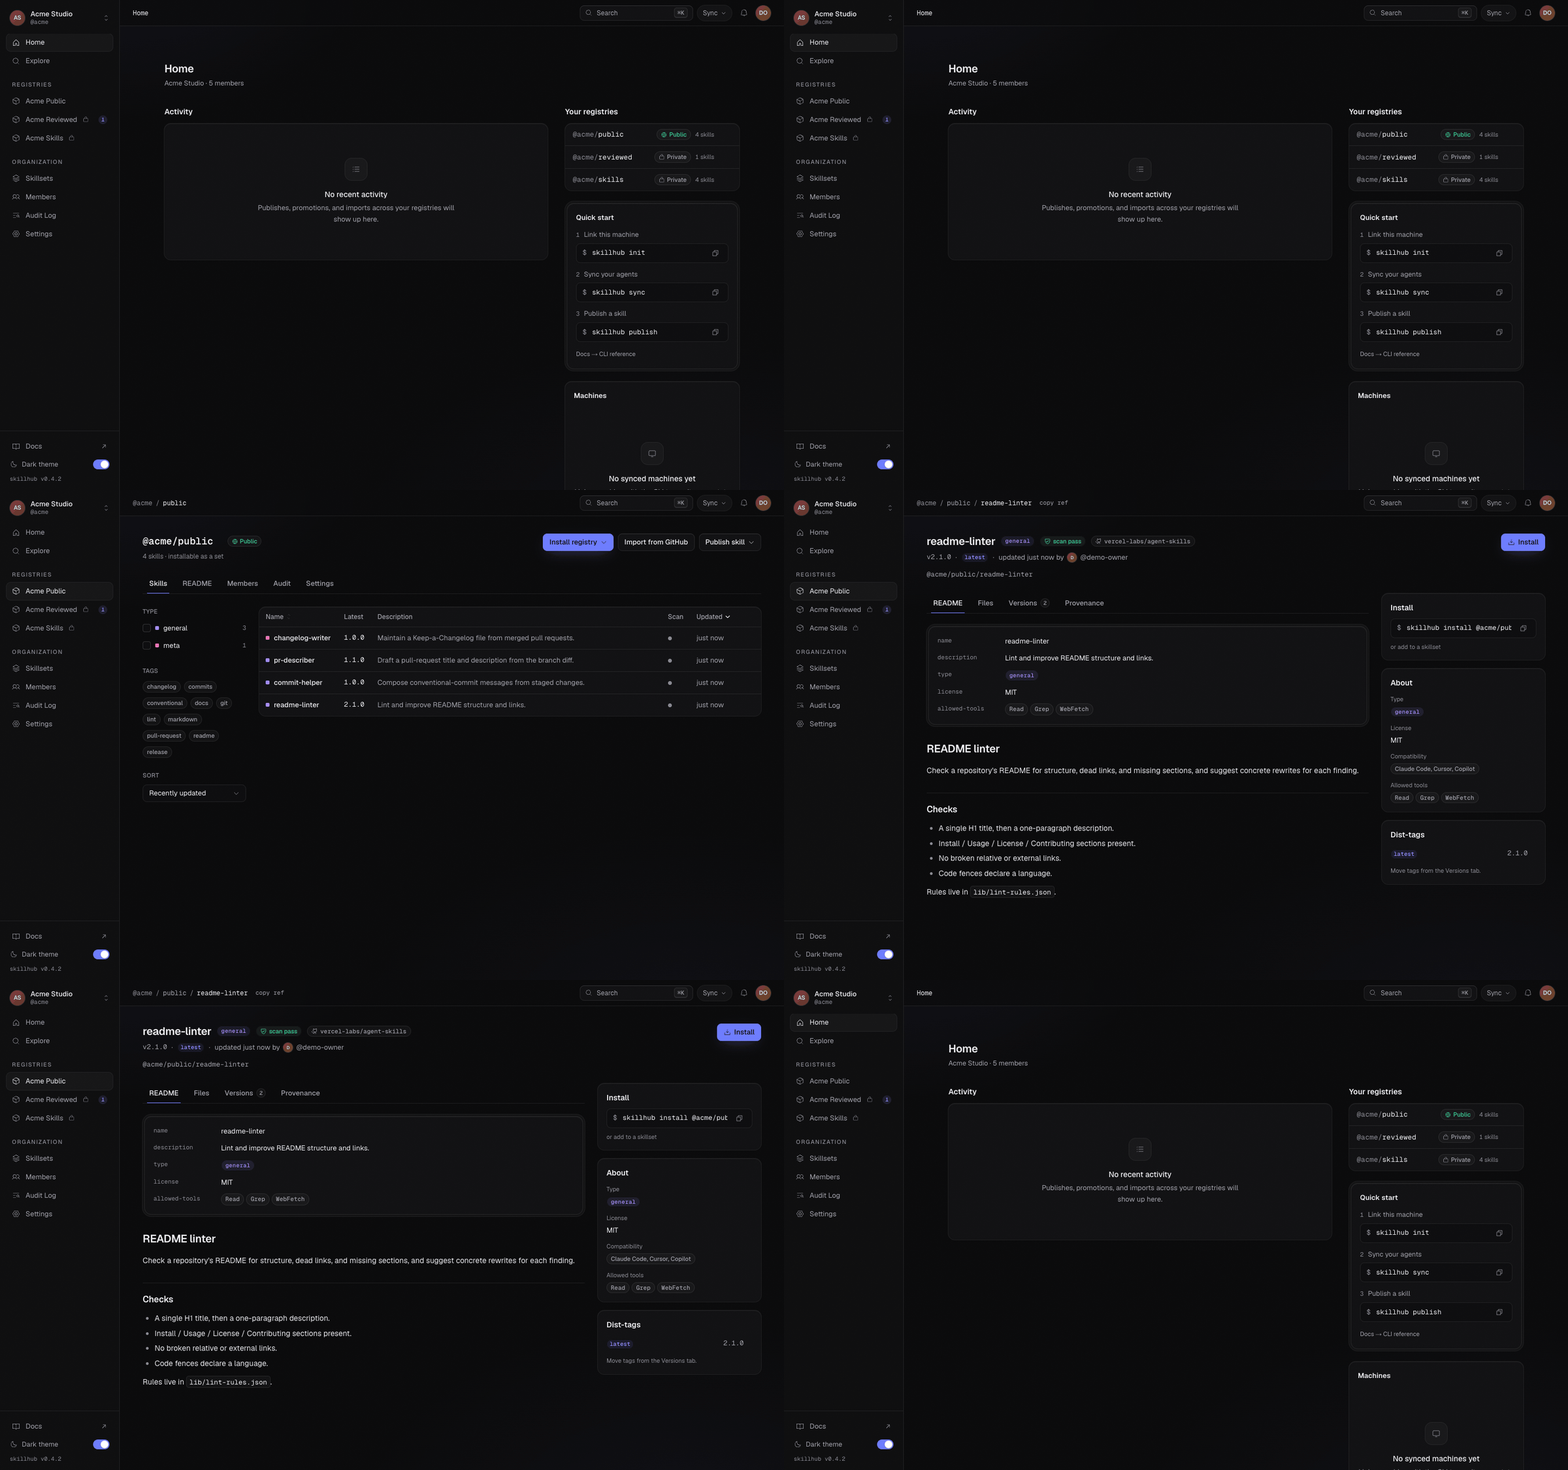
Open the registry you want. Its page is the skill list you install from — each
row is a skill, with its latest version and description. The registry's
reference (@owner/registry) is what you'll hand to the CLI.
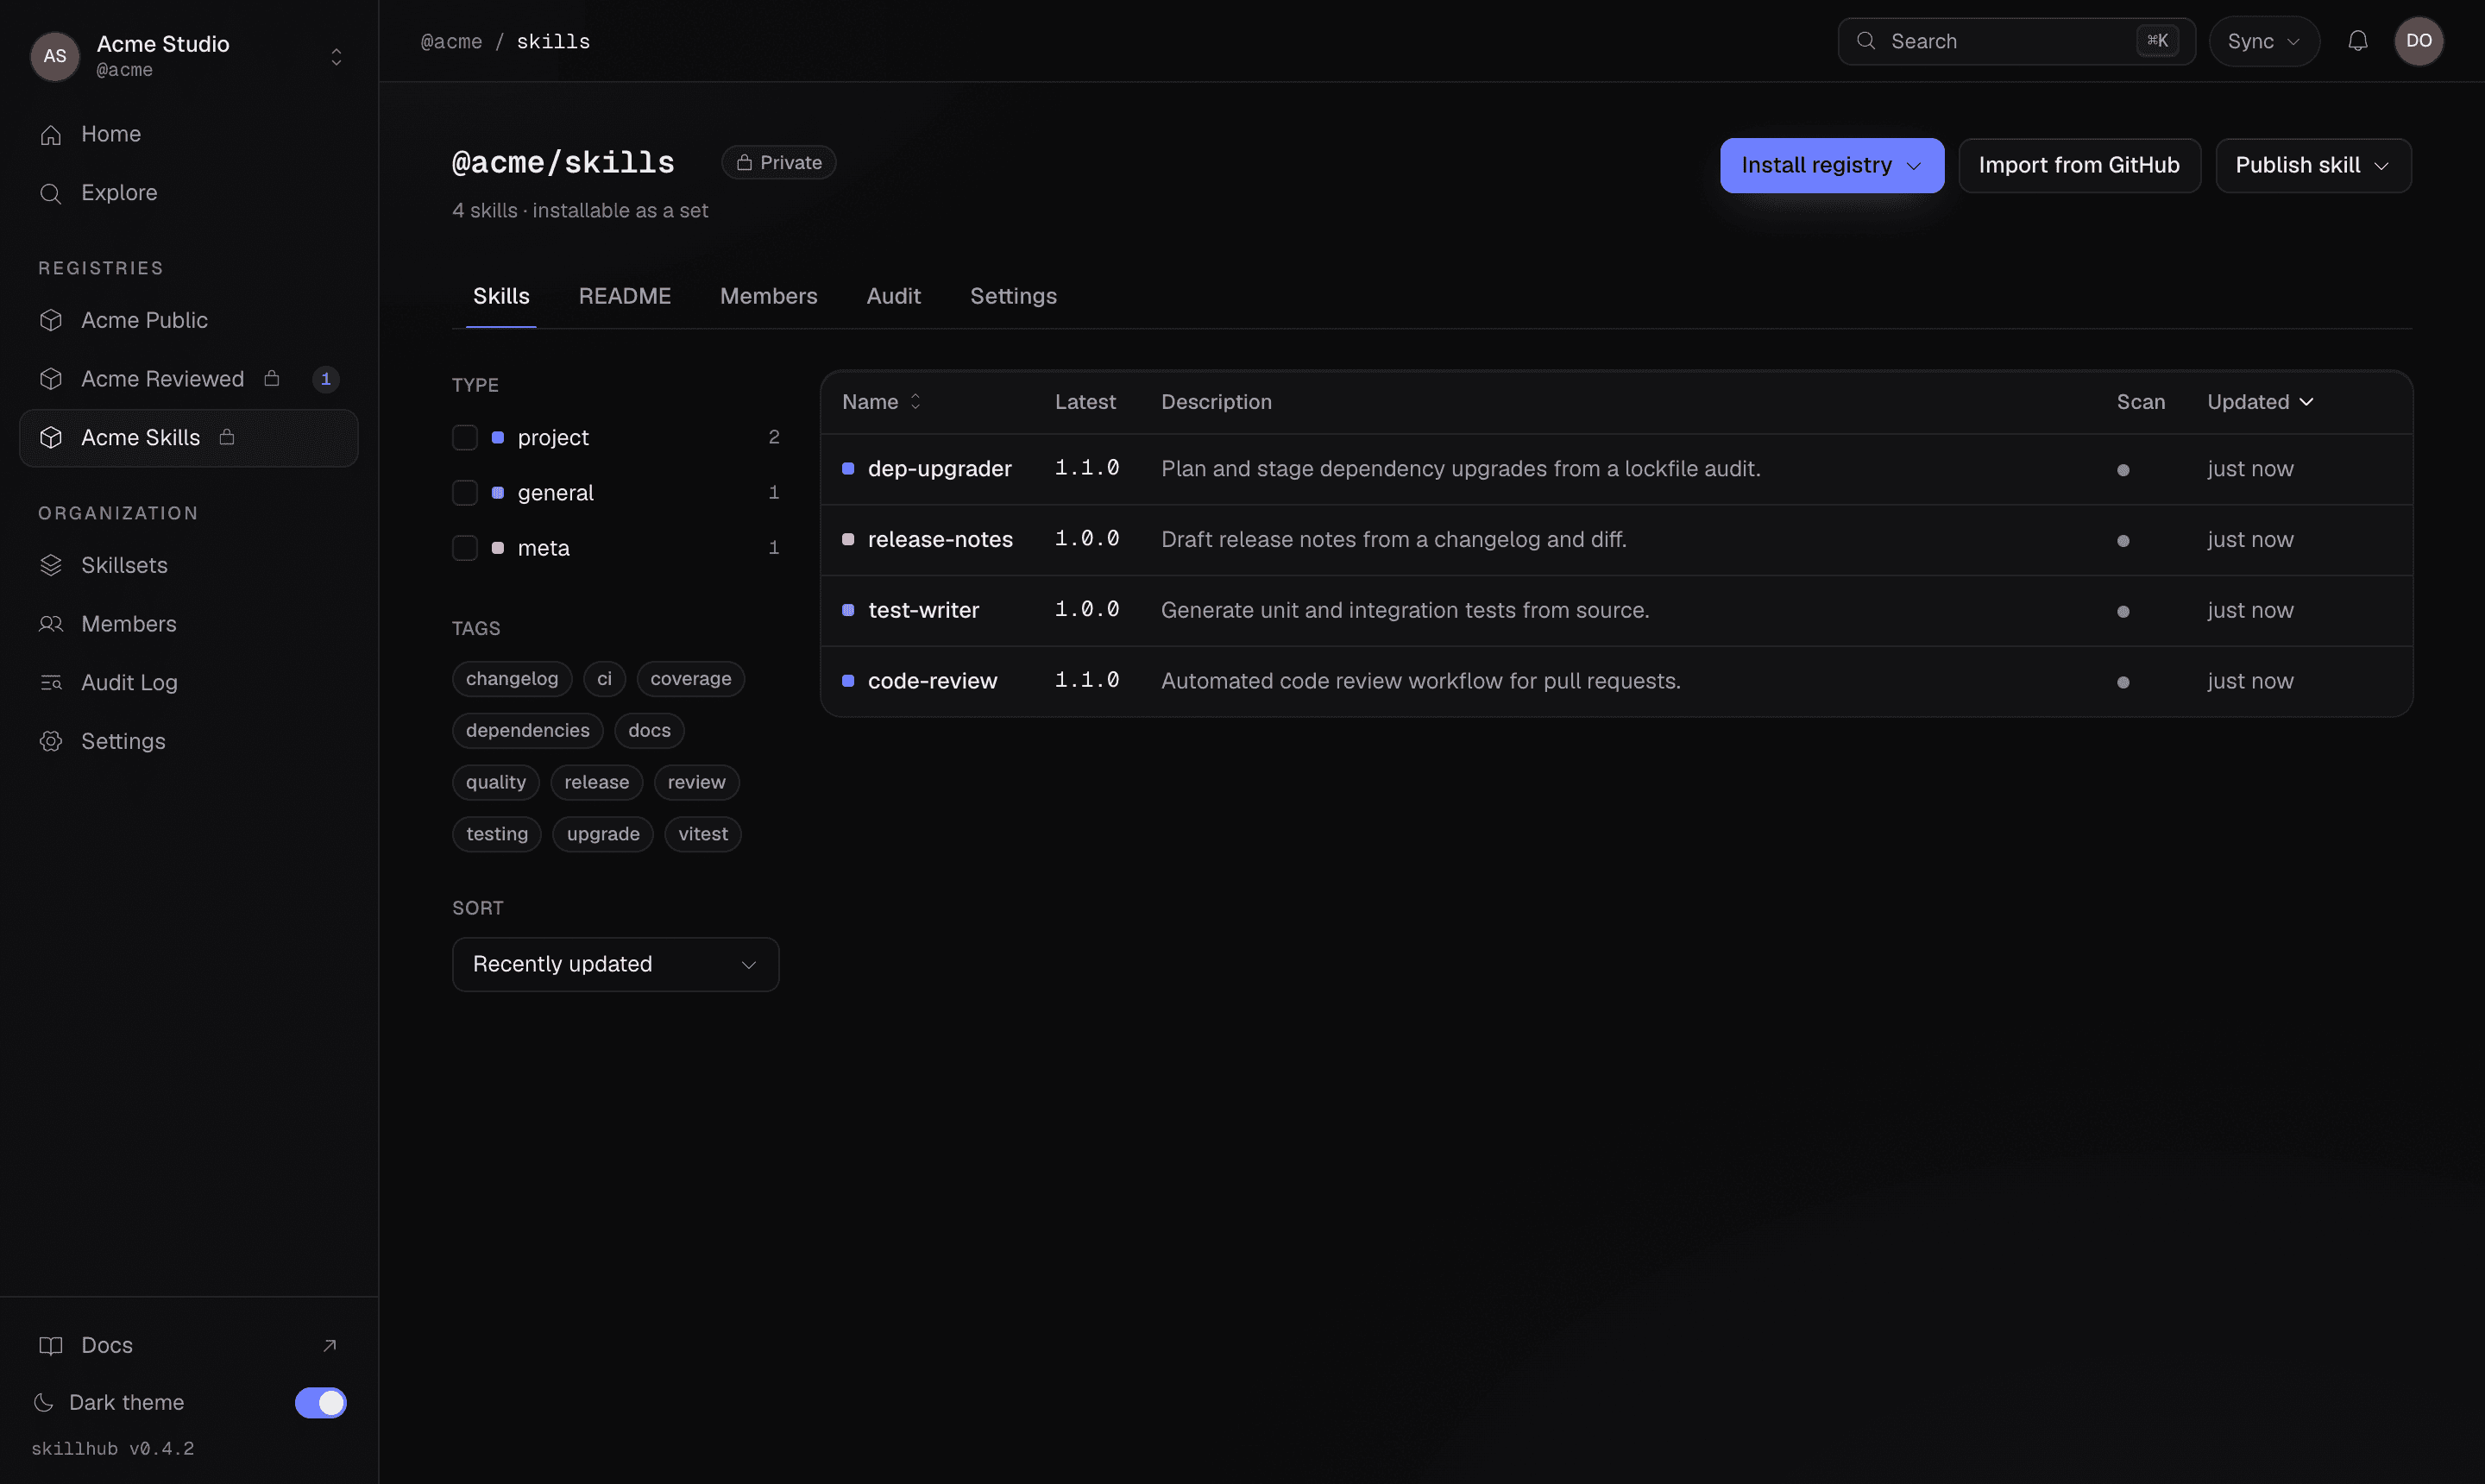
Open a single skill to inspect it before committing — its README, version history, and where it came from. Copy the exact reference shown on the page.
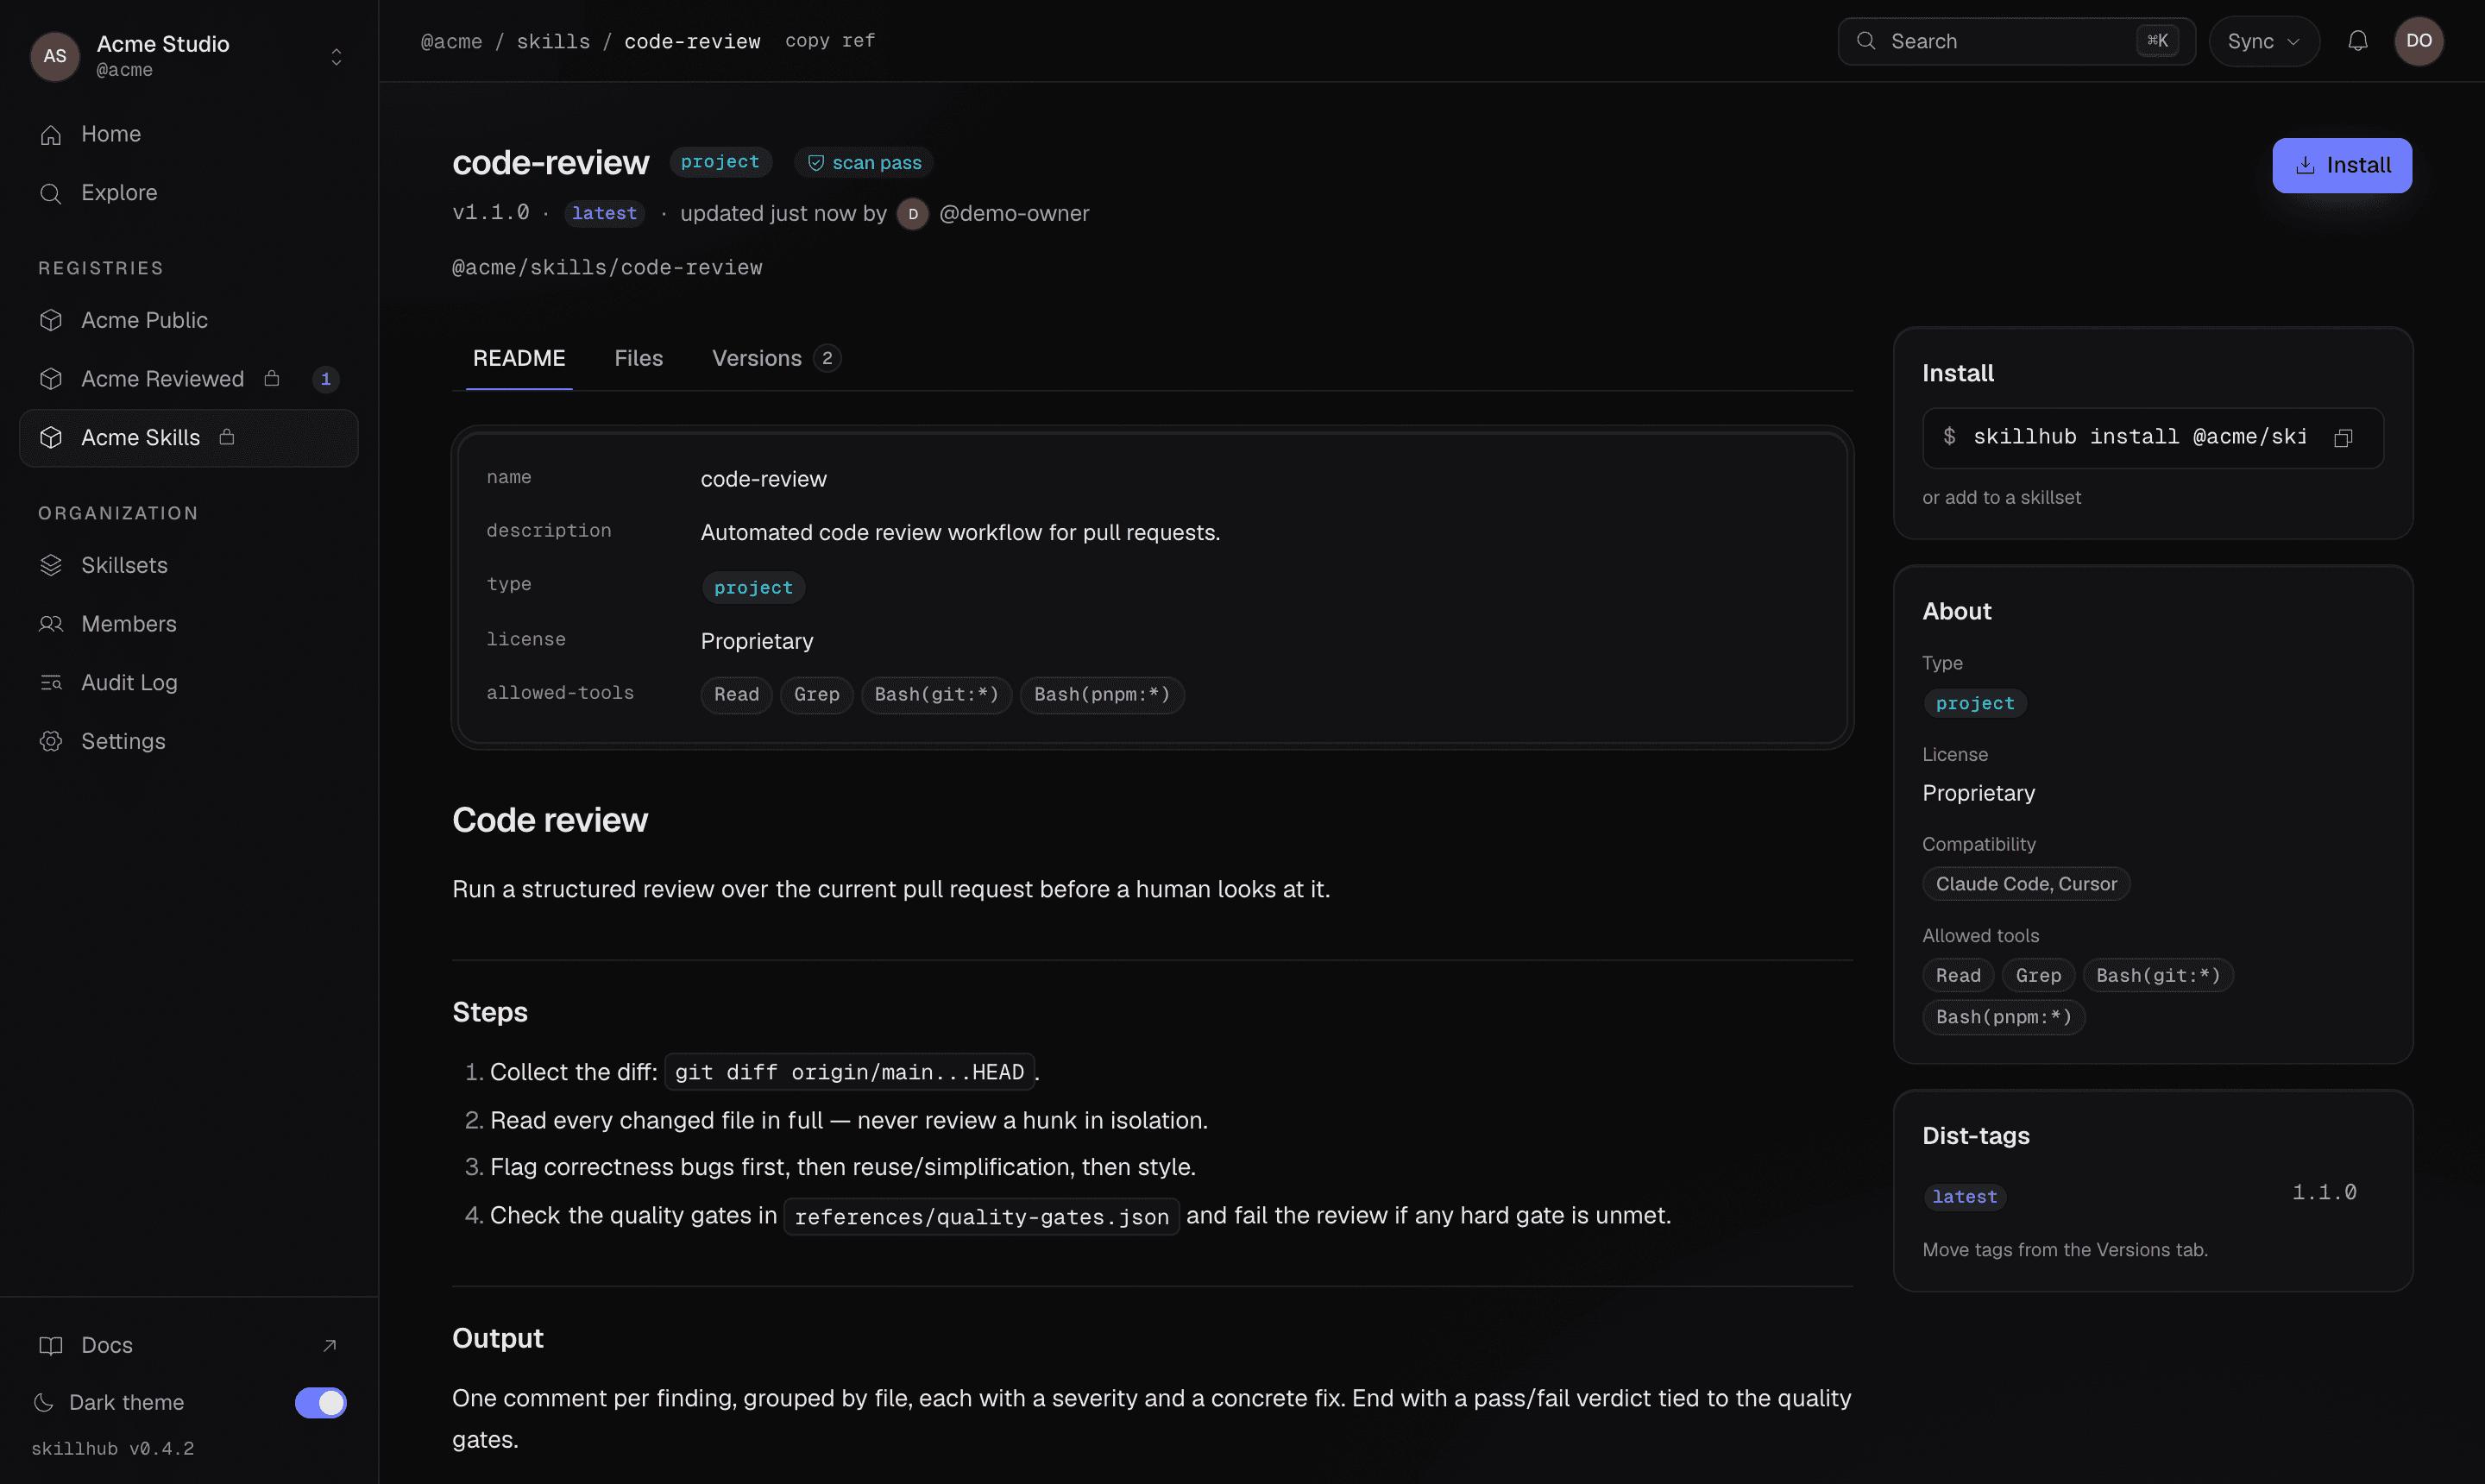
Access is scoped and invisible: the home and registry pages only ever show registries you've been granted. A registry you can't reach doesn't appear as "forbidden" — it simply isn't listed. See Never touch your repo for how scoping works.
Install into a project
You install from inside the project you want the skills in. Two things to know first: a project needs to be bootstrapped once, and installing a whole registry records a following subscription, while installing a single skill records just that skill.
Bootstrap the project once with skillhub init. It writes the config directory
and an empty lockfile, detects your coding agents, and adds a managed
.gitignore block so nothing it writes is ever stageable.
skillhub initInstall a whole registry, or a single skill. Choose the path that matches what you decided in the dashboard.
Installing a registry pulls in every skill it contains and records a following
subscription — later publishes to that registry auto-install on your next
skillhub sync.
skillhub install @studio/design-systemsYou can shape what the subscription pulls in with --no-follow (freeze the
member list), --exclude <names>, and --tag <tag>. See Registry
subscriptions for the full set.
Installing a single skill records just that skill — no registry-wide subscription.
skillhub install @studio/design-systems/tokens-workflowThe command prints exactly what changed — additions, updates, and removals — so
you can see the result at a glance. Pass --dry-run first if you want to preview
without touching anything, or --json for a machine-readable envelope.
Confirm what landed with skillhub list. It reports each installed skill's
version, the agents it's linked into, and a drift status (ok when the store
directory is present, every agent link is delivering it, and its content is what
was installed; modified once you've edited the skill in the store).
skillhub listinstall and sync need a resolvable registry and (for private registries)
credentials — run skillhub login first, or set the
SKILLHUB_TOKEN environment variable for a headless run.
Your repo stays clean
This is the guarantee that makes installing into a client-owned repo safe: everything the CLI writes locally is gitignored by default, so working in someone else's codebase never adds a stageable file.
Check it yourself — right after an install, git status --porcelain prints
nothing:
skillhub install @studio/design-systems/tokens-workflow
git status --porcelain
# (no output — nothing to stage)
The empty git status --porcelain is the whole promise: the config directory
and every agent skills directory the install fans into are covered by the
managed .gitignore block skillhub init wrote, so nothing appears as
stageable. Read the full story in Never touch your
repo.
One canonical store, symlinked into every agent
You didn't get one copy of each skill per agent. A skill installs once into a canonical local store, then fans out by symlink into each detected agent's skills directory:
- project scope — the store lives in the project config directory at the repo
root (its
skills/subfolder). - global scope (
--global) — the store lives under your home directory.
A single install, symlinked into every agent, means every coding agent on the
machine sees the same skill without duplicated bytes. Copying is the fallback,
never the default: pass --copy to force it, and on platforms without symlink
support the CLI auto-falls-back to a real copy with a notice. list shows a
copy marker on any skill that fell back.
Install a curated set with a skillset
Instead of remembering which skills a project needs and at what versions, a team can bundle that decision into a skillset — a curated, cross-registry set that installs as one unit and carries each item's version policy. Browse skillsets in the dashboard, then install the one you want.
Open the skillsets area to see the curated bundles available to you.
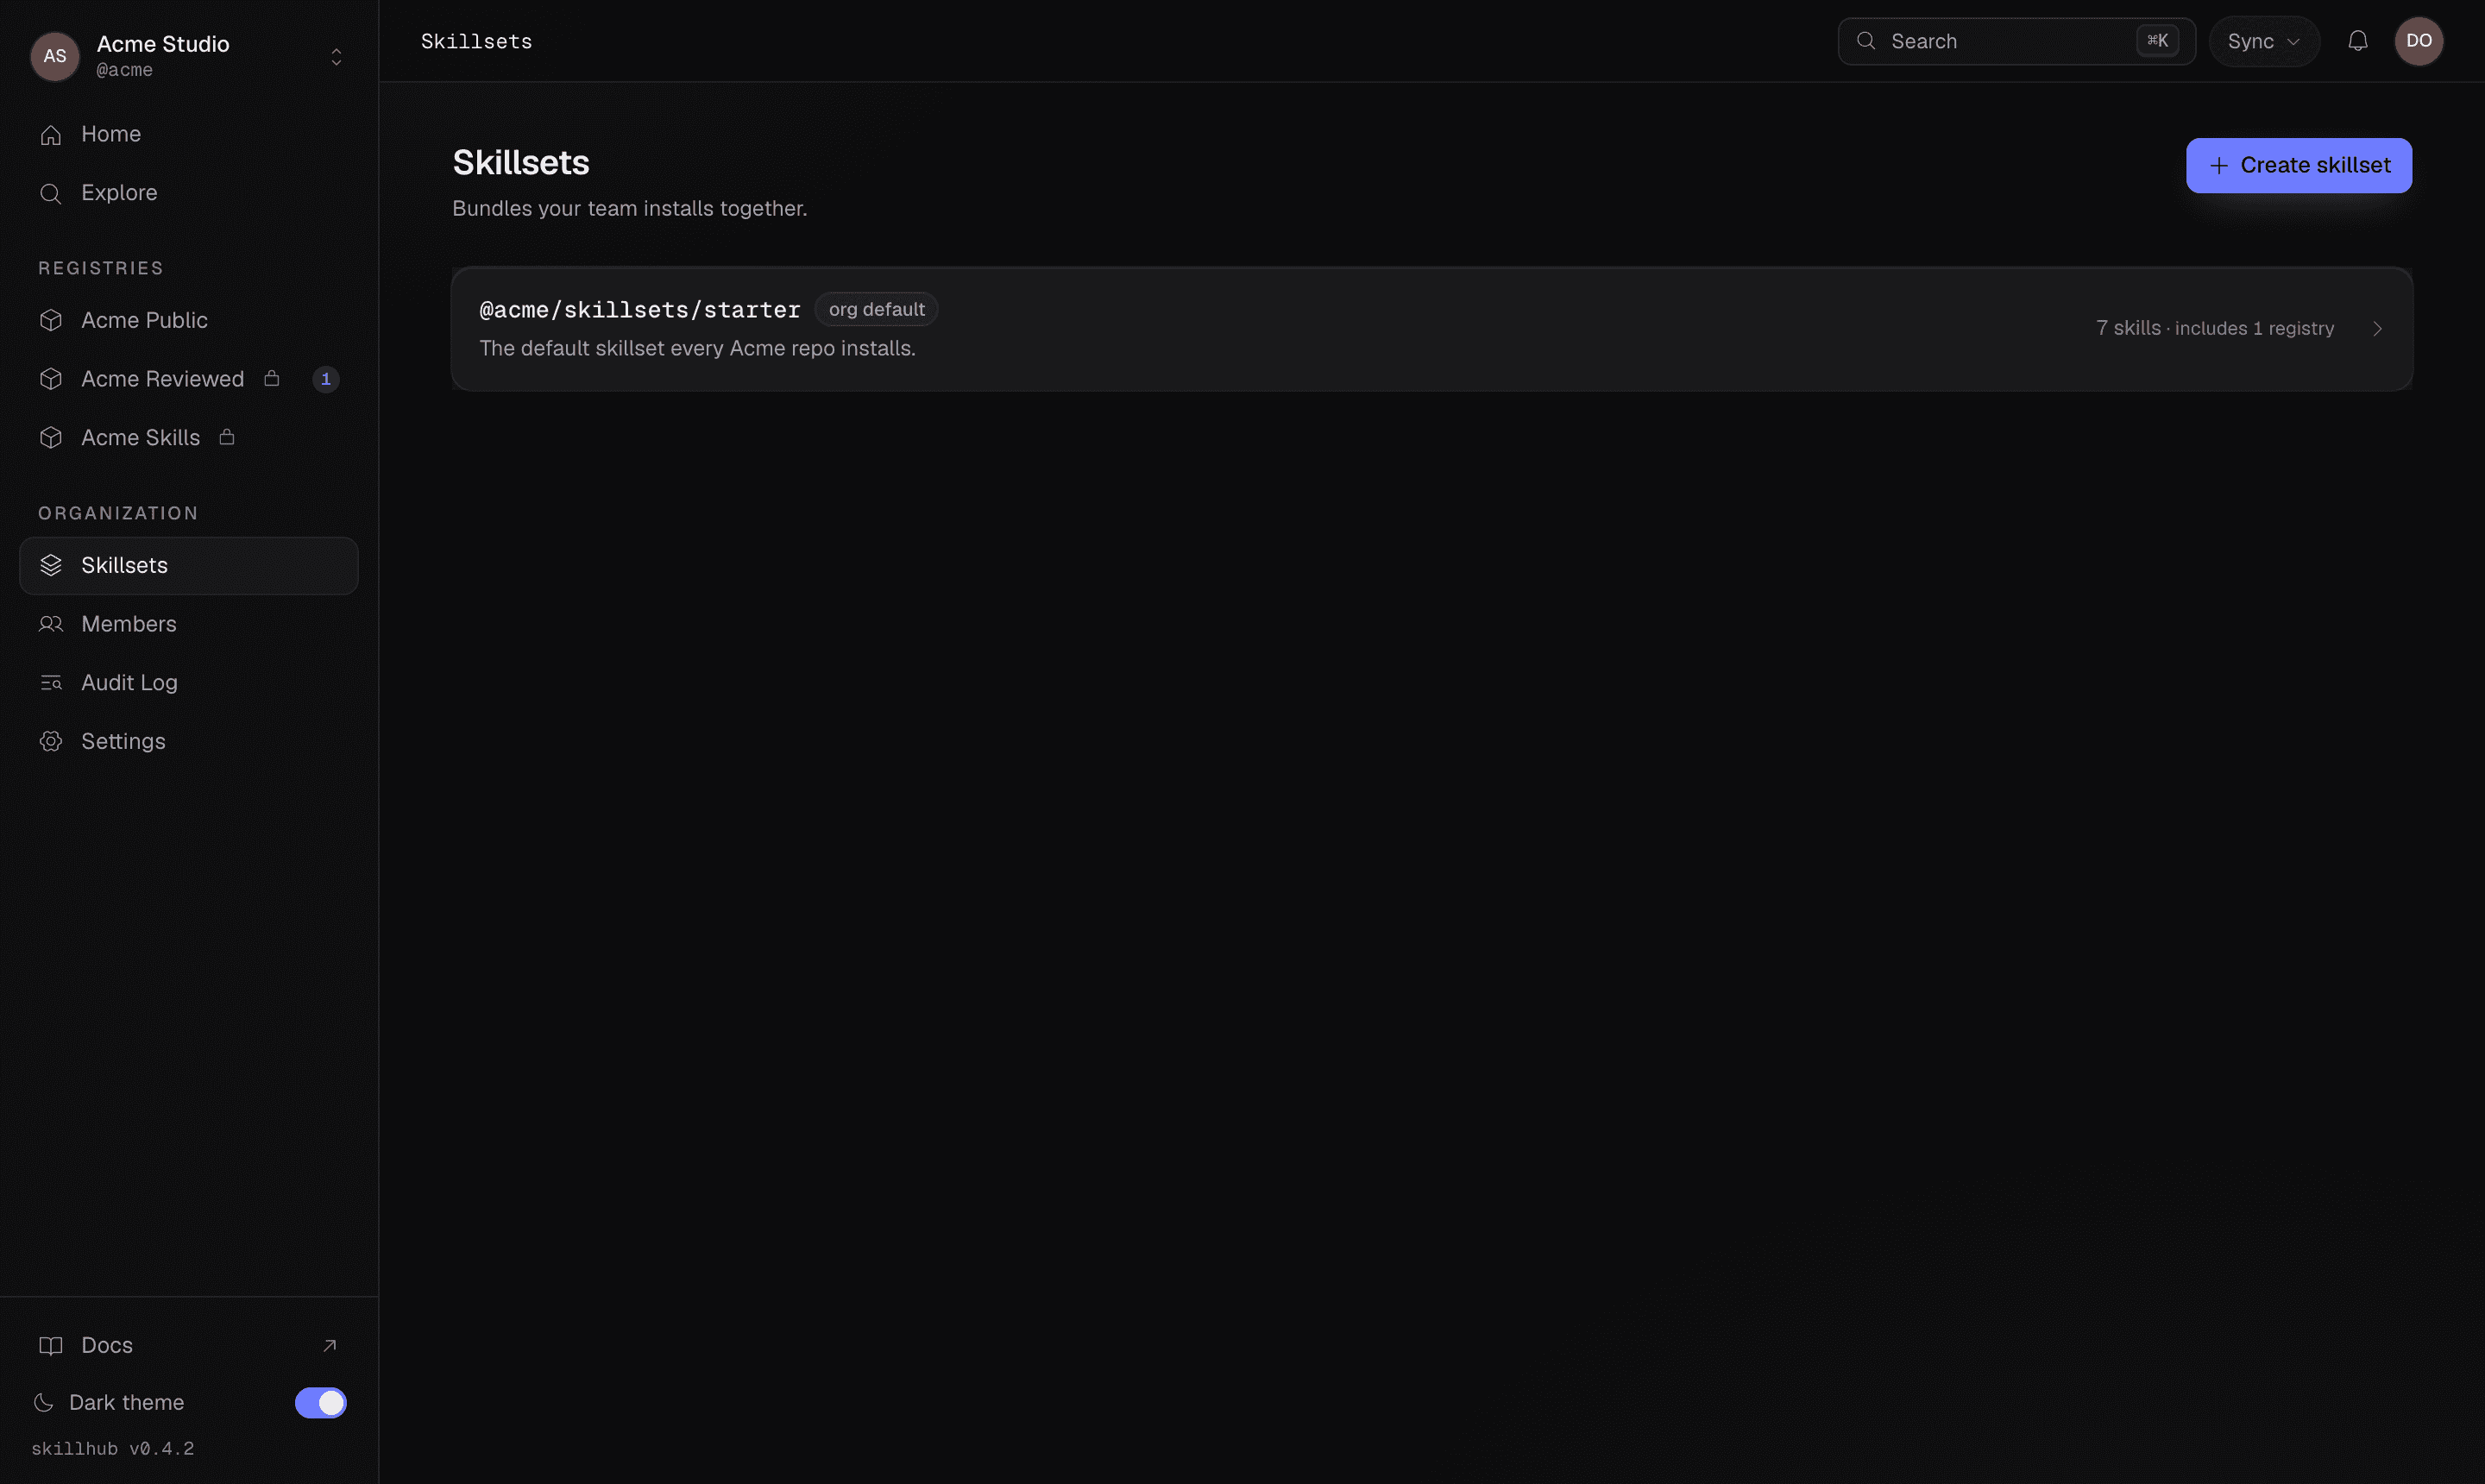
Open a skillset to see exactly what it installs — each item and its version range — before committing.
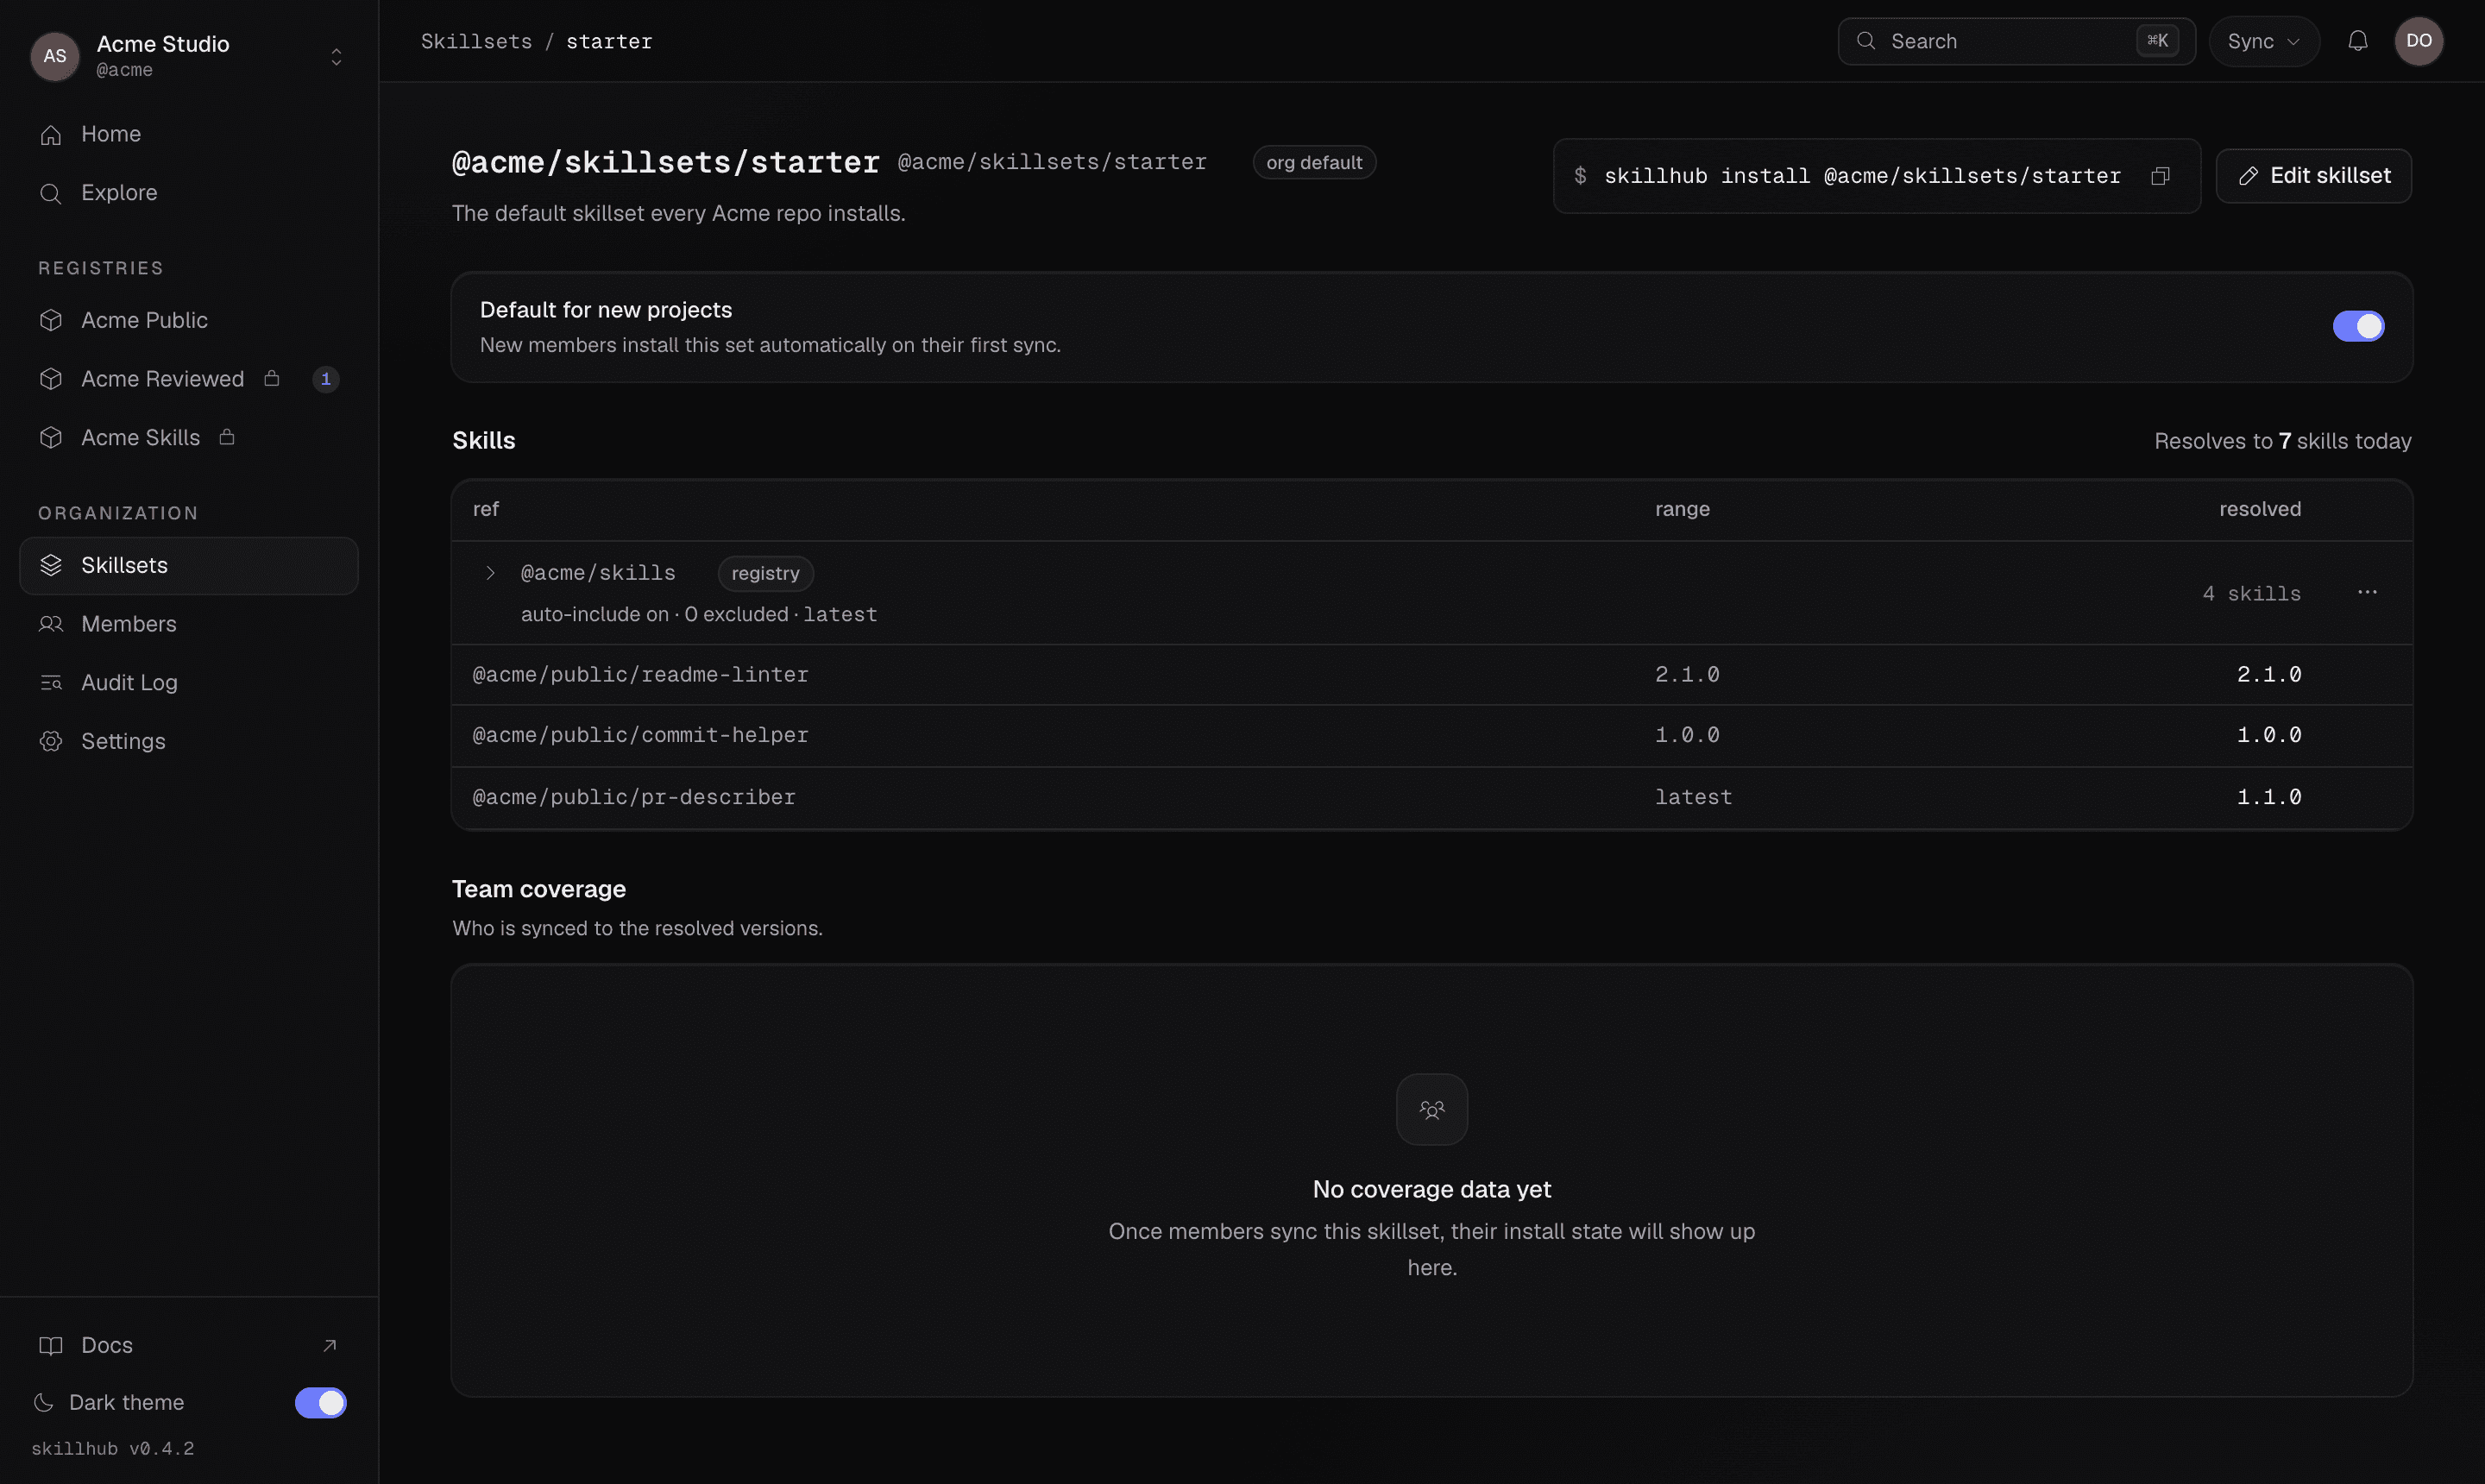
Install it by reference, exactly like any other install. The registry expands the skillset server-side into its concrete skills and applies each item's config.
skillhub install @studio/skillsets/new-client-projectYou can also subscribe to a skillset while bootstrapping, so a fresh project starts with the team's standard set already lined up:
skillhub init --skillset @studio/skillsets/new-client-projectSkillsets can be marked as org defaults, in which case skillhub init offers
them automatically when someone bootstraps a project. See
Skillsets for what goes inside one and how org
defaults work.
Sync a teammate's publish
Once you follow a registry (or subscribe to a skillset), keeping up is one
command. skillhub sync reconciles the skills on disk against the resolved
subscription set — everything your subscribed registries and skillsets
currently contain — and applies adds, updates, and removes within your declared
version ranges, verifying content hashes as it goes.
A teammate publishes a new version (or a brand-new skill) into a registry you follow. On your machine, sync picks it up on the next run.
skillhub syncFollow-mode means newly published skills are auto-installed and version bumps
within range are applied — no manual bookkeeping. Preview first with --dry-run
if you'd like to see the diff before it's applied.
If a skill was removed upstream, sync doesn't yank it out from under you. It
stays on disk and is reported as orphaned (also flagged by skillhub list).
Remove orphaned skills deliberately with --prune:
skillhub sync --pruneLosing upstream access — a deleted registry or a revoked grant — never breaks
your working tree. The affected skills stay on disk as orphaned until you choose
to run sync --prune. Details in Registry
subscriptions.
Frozen sync for CI
In CI you don't want sync to apply anything — you want it to fail if the
lockfile would drift. That's --frozen: it resolves and compares only, never
writes, and exits 1 (listing every add, update, and removal) if the committed
lockfile doesn't match the resolved subscription set. A clean run exits 0.
skillhub sync --frozenCI is headless, so authenticate by setting the SKILLHUB_TOKEN environment
variable from a scoped token minted with skillhub token — sync
reads it automatically, no login step needed:
SKILLHUB_TOKEN=skh_live_ skillhub sync --frozen--frozen gets no offline tolerance: CI can't verify a lockfile it couldn't
resolve, so an unreachable registry is a failure, not a skip. A plain
skillhub sync (no --frozen) is lenient — if the registry is unreachable but
the lockfile is already satisfied on disk, it warns and exits 0.
Where to go next
Never touch your repo
The guarantee behind the clean git status — gitignored writes, the managed block, and the symlink store.
Registry subscriptions
How follow, exclude, pins, and tags shape what a registry install pulls in.
Skillsets
Curated cross-registry bundles that install as a unit and can be org defaults.
sync
The full command reference for reconcile, dry-run, frozen, and prune.