Administer your organization
Manage members and roles in SkillHub, issue and scope API tokens, and audit everything.
An organization is a shared workspace — a common namespace, a set of registries, and a way to grant a whole team access at once. Administering one is mostly a dashboard flow: you invite people, set roles, issue and revoke API tokens, and read the audit trail there. The CLI covers the from-a-terminal essentials — seeing your orgs and roles, granting per-registry access, minting tokens for CI, and confirming who you're authenticated as.
This guide walks the whole administrative loop across both surfaces. If you want the model behind it first — org vs. registry roles, inherited defaults, and explicit grants — read Organizations & roles; this page is the hands-on walkthrough.
Install the skillhub binary with npm i -g @uzolab/skillhub. Commands here are real and
run against whichever registry your config points at, and the dashboard URLs the
CLI prints open the real dashboard.
Everything below is accurate to the shipped CLI — where a capability is
dashboard-only, this guide says so.
Where each surface owns the work
Administration is split deliberately. A quick map before the walkthrough:
| Task | Dashboard | CLI |
|---|---|---|
| See your orgs and your role in each | yes | skillhub org list |
| Invite a person to the organization | yes | — (dashboard only) |
| Change an existing member's registry role | yes | — (dashboard only) |
| Invite someone outside the org to one registry | — (CLI only) | skillhub registry invite |
| Set a registry's default org role | yes | — (dashboard only) |
| Create an API token | yes | skillhub token create |
| List / revoke API tokens | yes | — (dashboard only) |
| Read the audit log | yes | — (dashboard only) |
| Confirm who you're signed in as | yes | skillhub whoami |
The CLI is thin on purpose: it exists for the from-scratch journey and for CI. Almost everything beyond it lives on the dashboard — the one exception is the last row, and it is worth understanding before you plan around it.
Today, joining a team means joining the organization. The dashboard's
invitation flow adds someone to the org, after which the org's registries
resolve for them through the roles below. Granting a single registry to somebody
who is not in the org is supported by the API and the CLI, but has no dashboard
screen yet — so that one path is skillhub only.
Step 1 — Know who you are and what you administer
Before changing anything, confirm your identity and the orgs you can act in.
Confirm the authenticated identity
skillhub whoami proves your stored credential actually works — it verifies
against the server, not just that a credential exists — and shows where the
credential came from and which registry URL is in effect:
skillhub whoami@pat (Pat Rivera)
registry: https://skillhub.fyi (default)
token: from the OS keychainThe token: line names the source — the SKILLHUB_TOKEN environment
variable, the OS keychain, or the credentials file — so you always know which
credential is answering. With --json you also get the server-side tokenId
(non-null when you're authenticated with an API token), which is what you'd
cross-reference against the tokens list in the dashboard.
List the orgs you belong to
skillhub org has exactly one subcommand — list — and it shows every org you
belong to alongside your org role in each:
skillhub org list@studio owner
@acme memberOrg roles are owner, admin, and member. list is the whole of org
management in the CLI by design; inviting people, changing roles, and setting
registry defaults happen on the dashboard.
Step 2 — Manage members and roles
Open the org on the dashboard to manage people. From the terminal, jump straight
there — skillhub open with no ref lands on your dashboard home, and
skillhub open @owner opens that org's page:
skillhub open @studio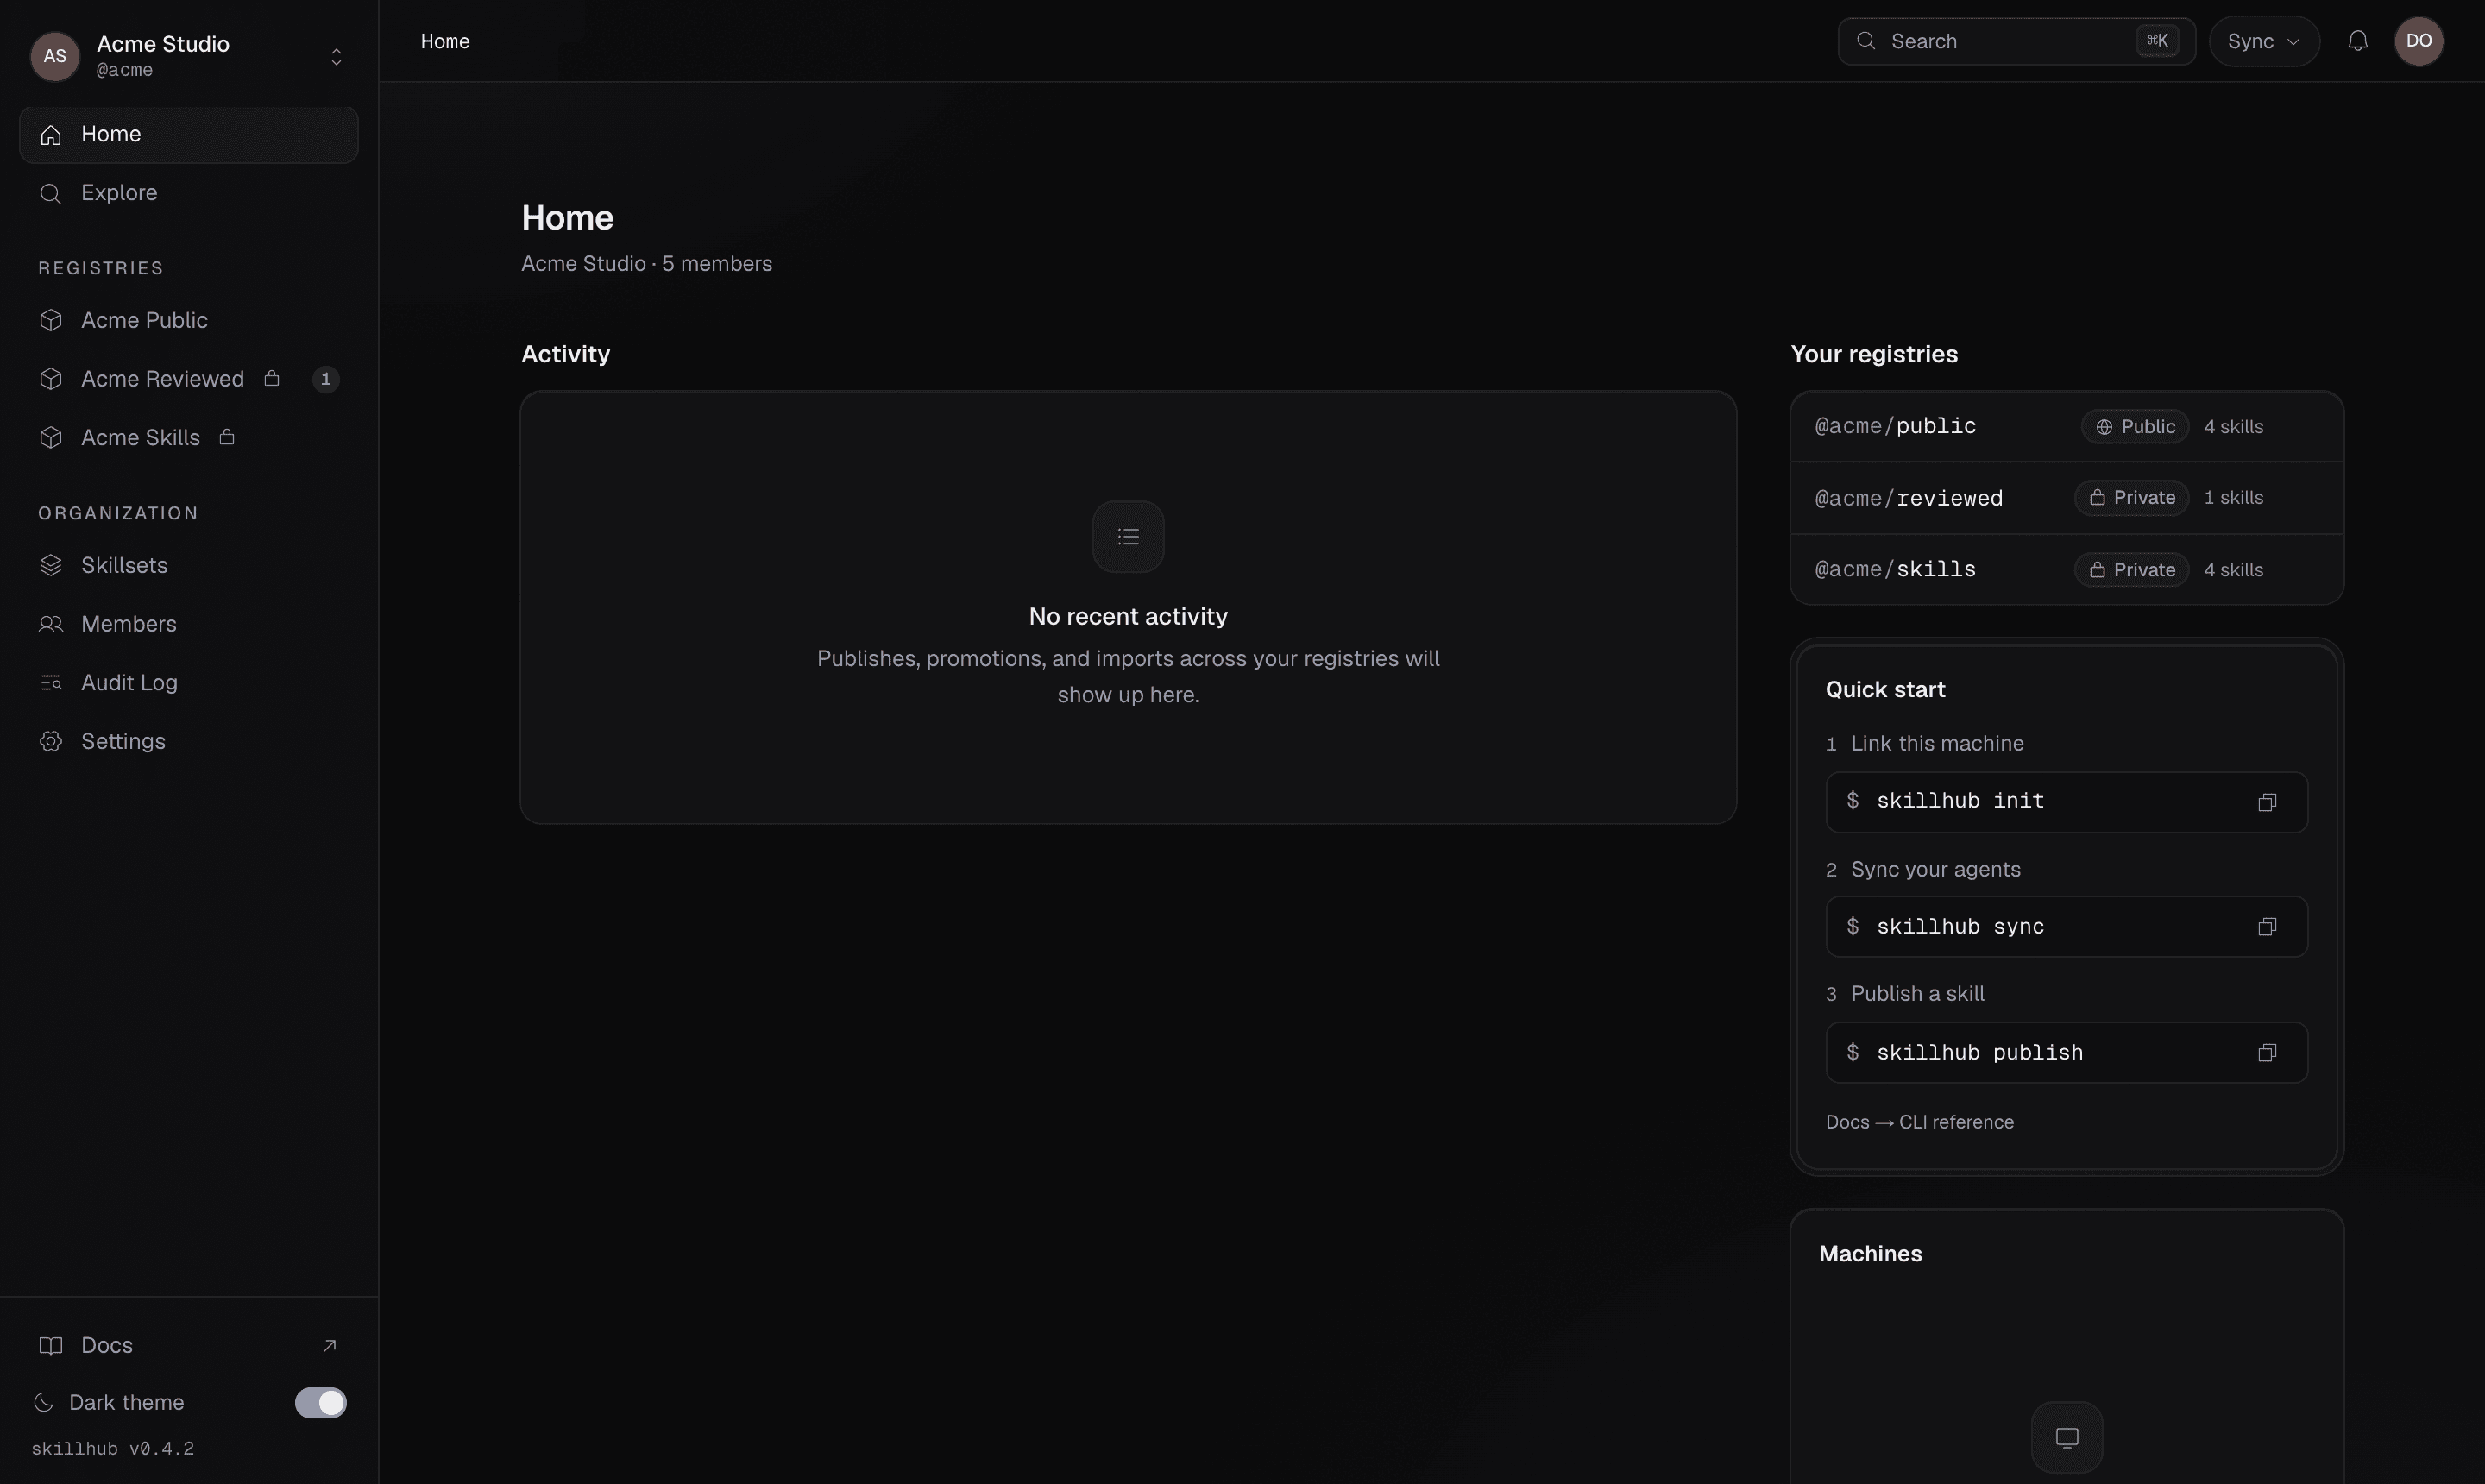
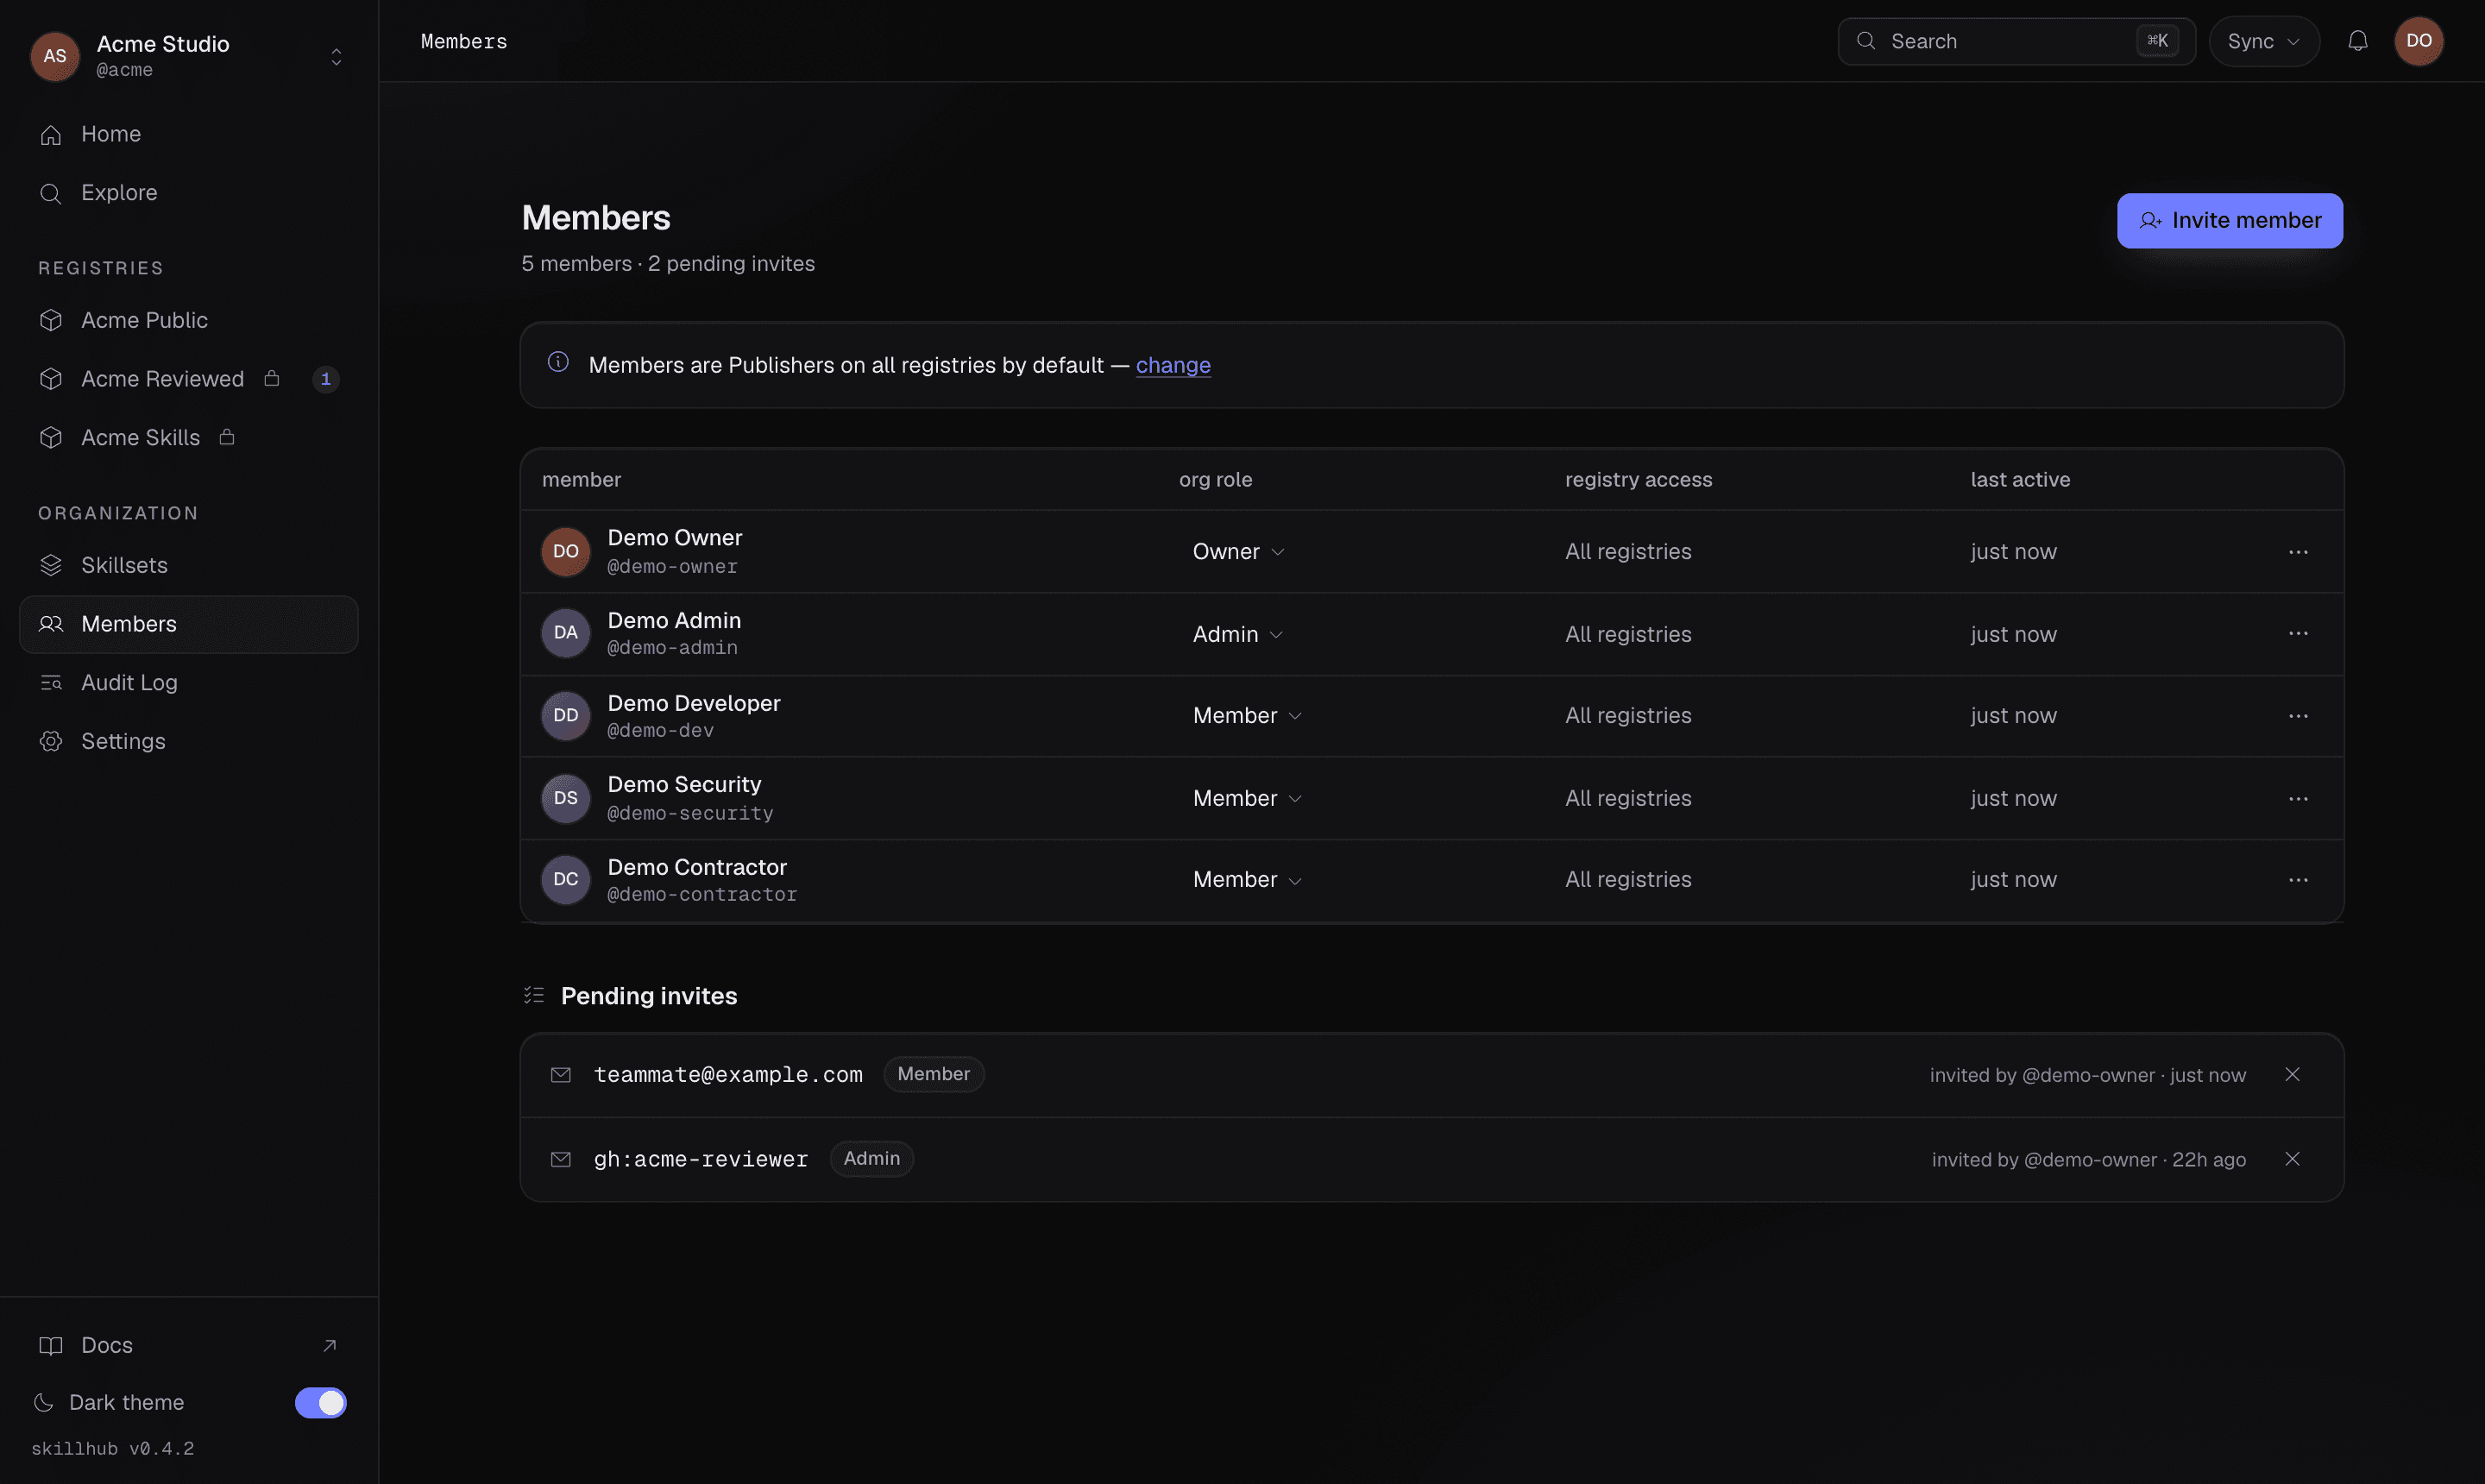
The Members screen lists everyone in the org with their org role, and is where you invite people and change roles. Invite by email address or GitHub handle. Every invitation issues a one-time redemption link, shown to you once, and an email invitee is also mailed the invitation. The confirmation names what actually happened rather than assuming delivery — that the message went to the address, or that none was sent and why — and the link is valid either way. A GitHub-handle invitee has no address to mail, so there the link is the delivery.
Screens only an owner or admin can use say so plainly to everyone else: the org's audit log names the role required rather than showing an empty table, and it is hidden from the sidebar for members who cannot open it.
How roles resolve
Access lives at two levels — the organization and the individual registry — and org access flows down to the org's registries by default.
- Org roles:
owner,admin,member. - Registry roles:
reader(install),publisher(publish and tag),admin(administer the registry, including promoting versions).
Each org-owned registry carries a default org role (defaultOrgRole) — the
registry role every org member gets automatically. It can be none, reader,
publisher, or admin. On top of that baseline you can grant a specific person
a role on a single registry directly.
Role-based access with org-inherited defaults plus per-registry grants: the
registry's default sets the baseline for all org members, and an explicit grant
on a registry always overrides the inherited default for that one user. So a
registry can default members to reader while a named collaborator is granted
publisher directly.
Grant per-registry access
Setting a registry's default org role is a dashboard action. Giving one person a registry role splits by who they are: the dashboard adjusts the role of someone already in the org, and the CLI invites someone who isn't yet.
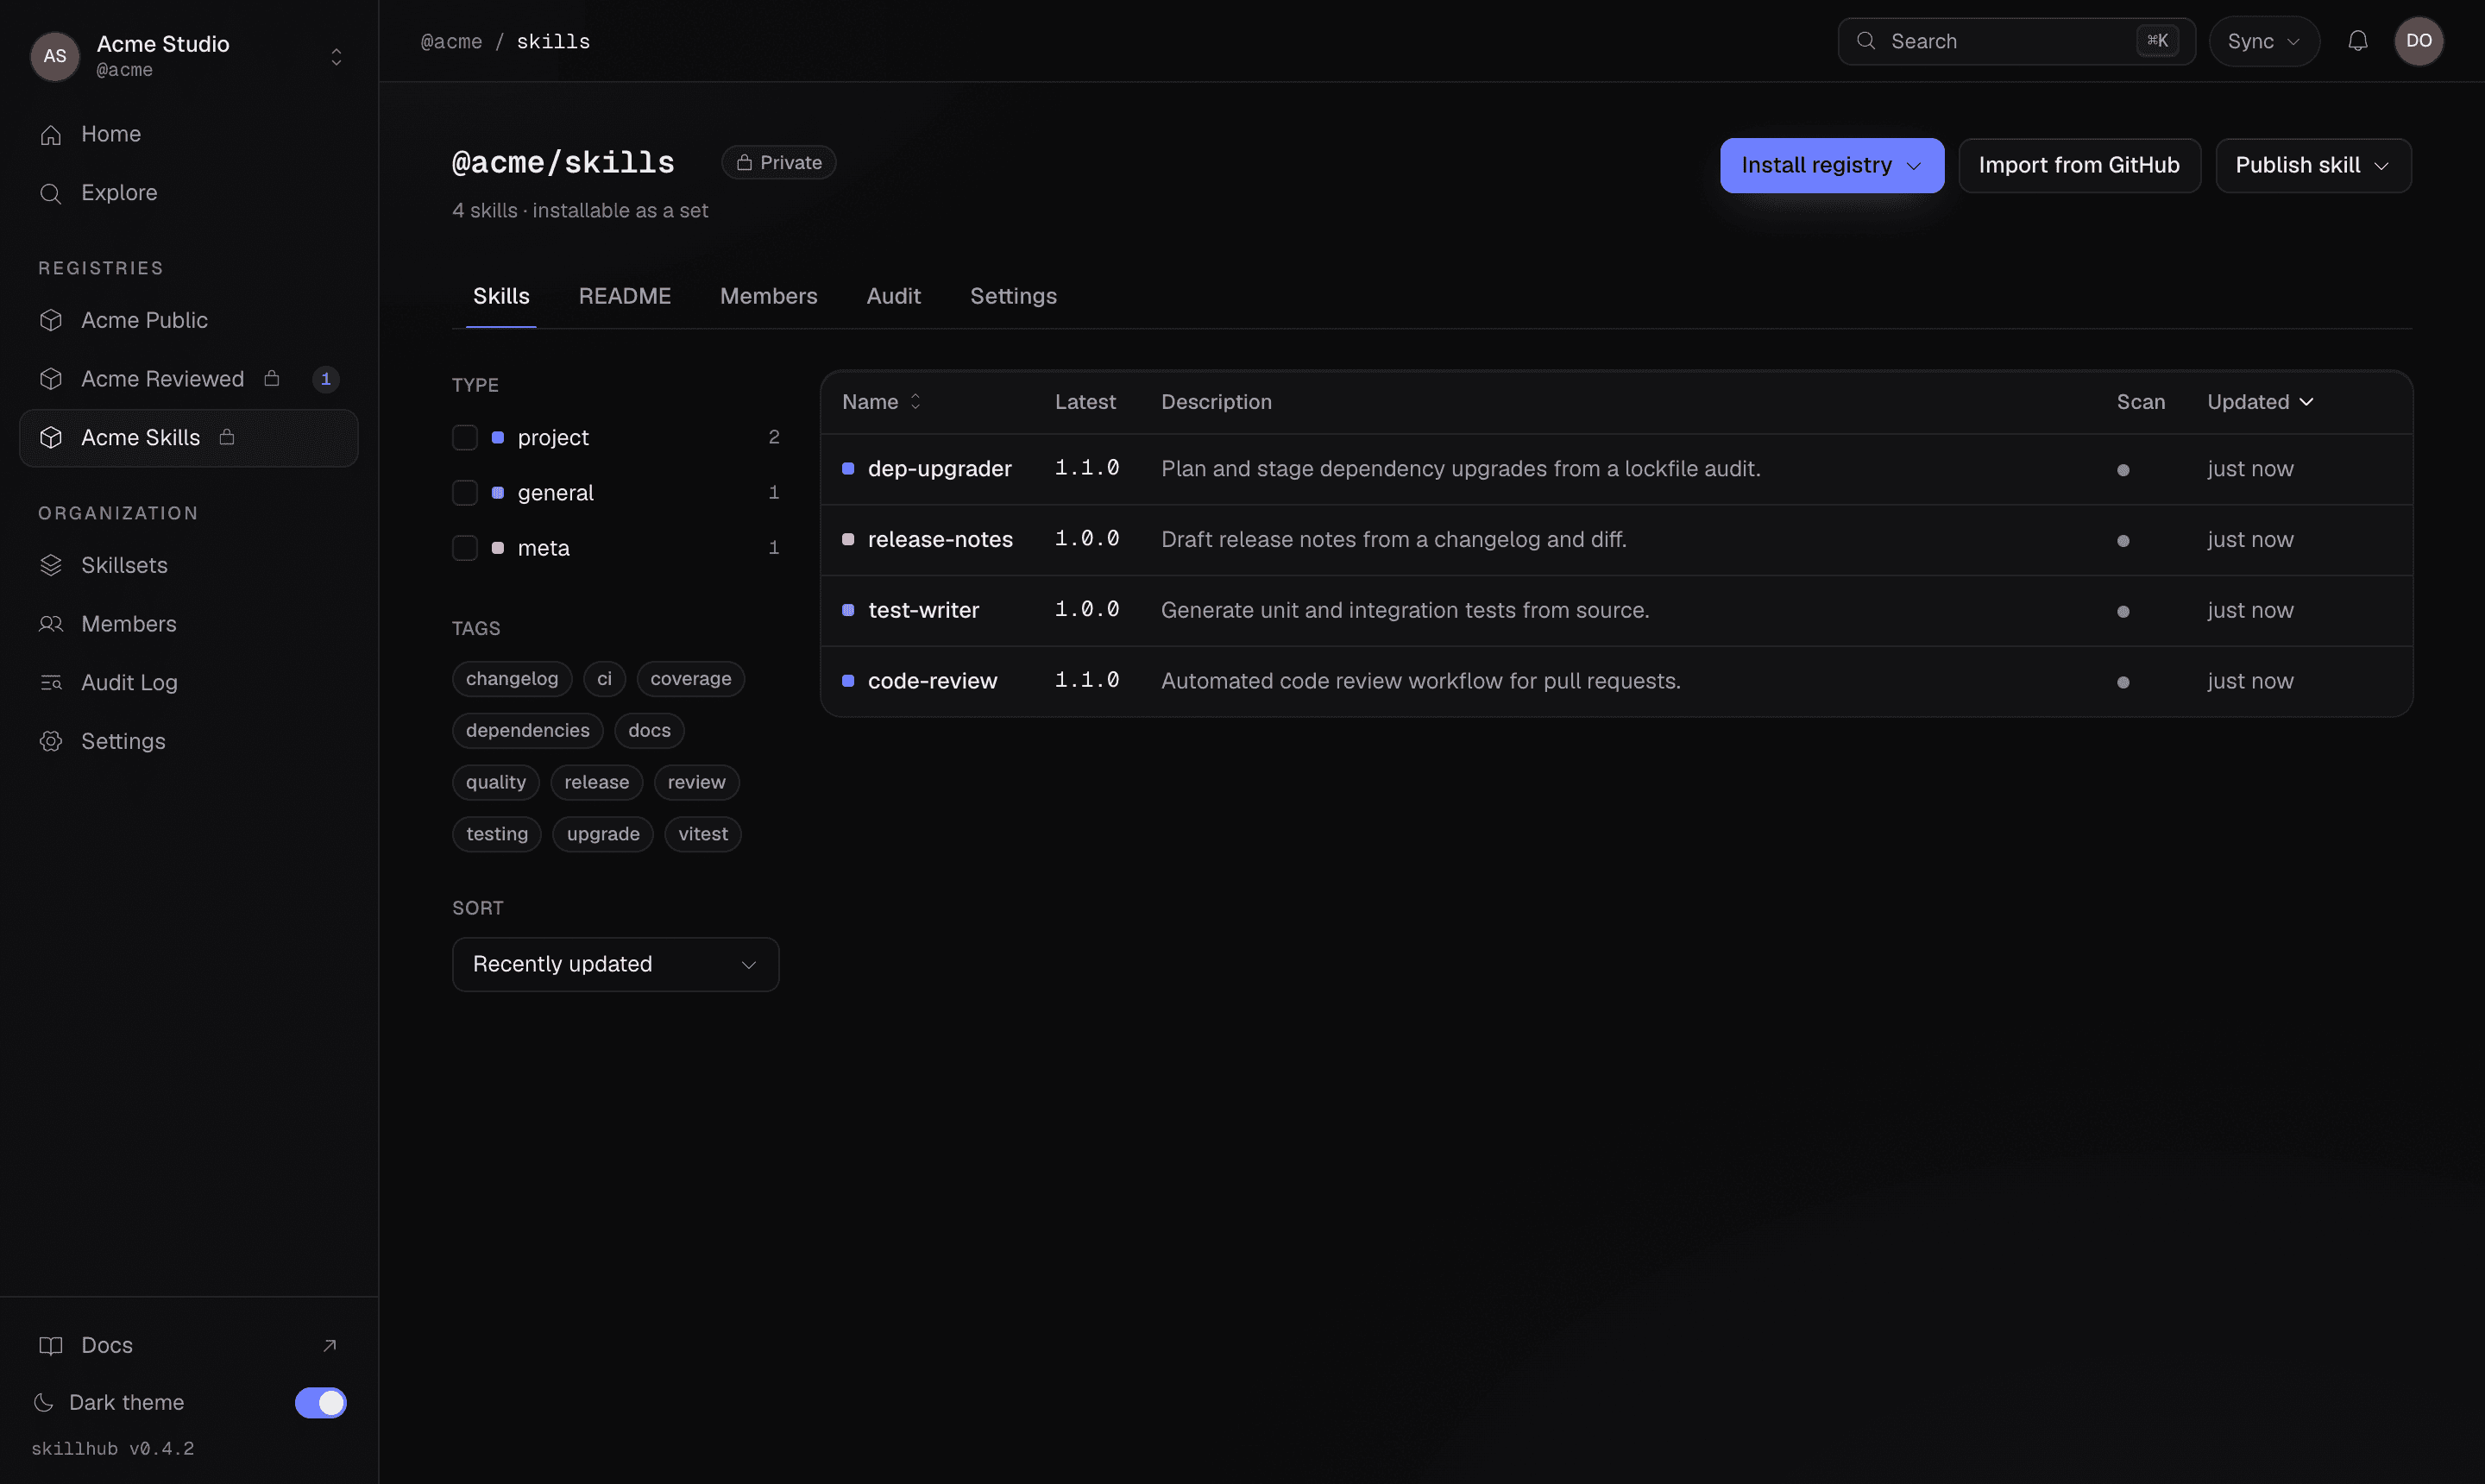
Open the org's registry and use its Members tab to set a registry role on an
existing org member. The people you can pick from are the org's roster — this
surface changes an existing member's access rather than inviting a new person, so
to bring in someone outside the org, use the CLI tab. The org's registries are
namespaced under it — for example @studio/design-systems:
skillhub registry invite grants a registry role to a GitHub handle or email.
The role is one of reader, publisher, or admin:
skillhub registry invite @studio/design-systems freya --role publisherAn argument containing @ is treated as an email; anything else is a GitHub
handle. The command always issues a one-time redemption link and prints it
once. A GitHub handle has no address, so there the link is the delivery; for an
email invitee the command also attempts to mail the invitation and reports the
outcome rather than assuming it: a plain "invited" when the message reached the
invitee, and otherwise a note naming what happened and pointing you at the link.
The link is valid regardless of what the mail did.
See the registry CLI reference for the full --json shape
(invite, its inviteUrl, and the delivery outcome).
Step 3 — Configure organization settings
The org's Settings screen is where the org's display name, handle, and other
org-level properties live. This is a dashboard-only surface — there is no
skillhub command that edits org settings:
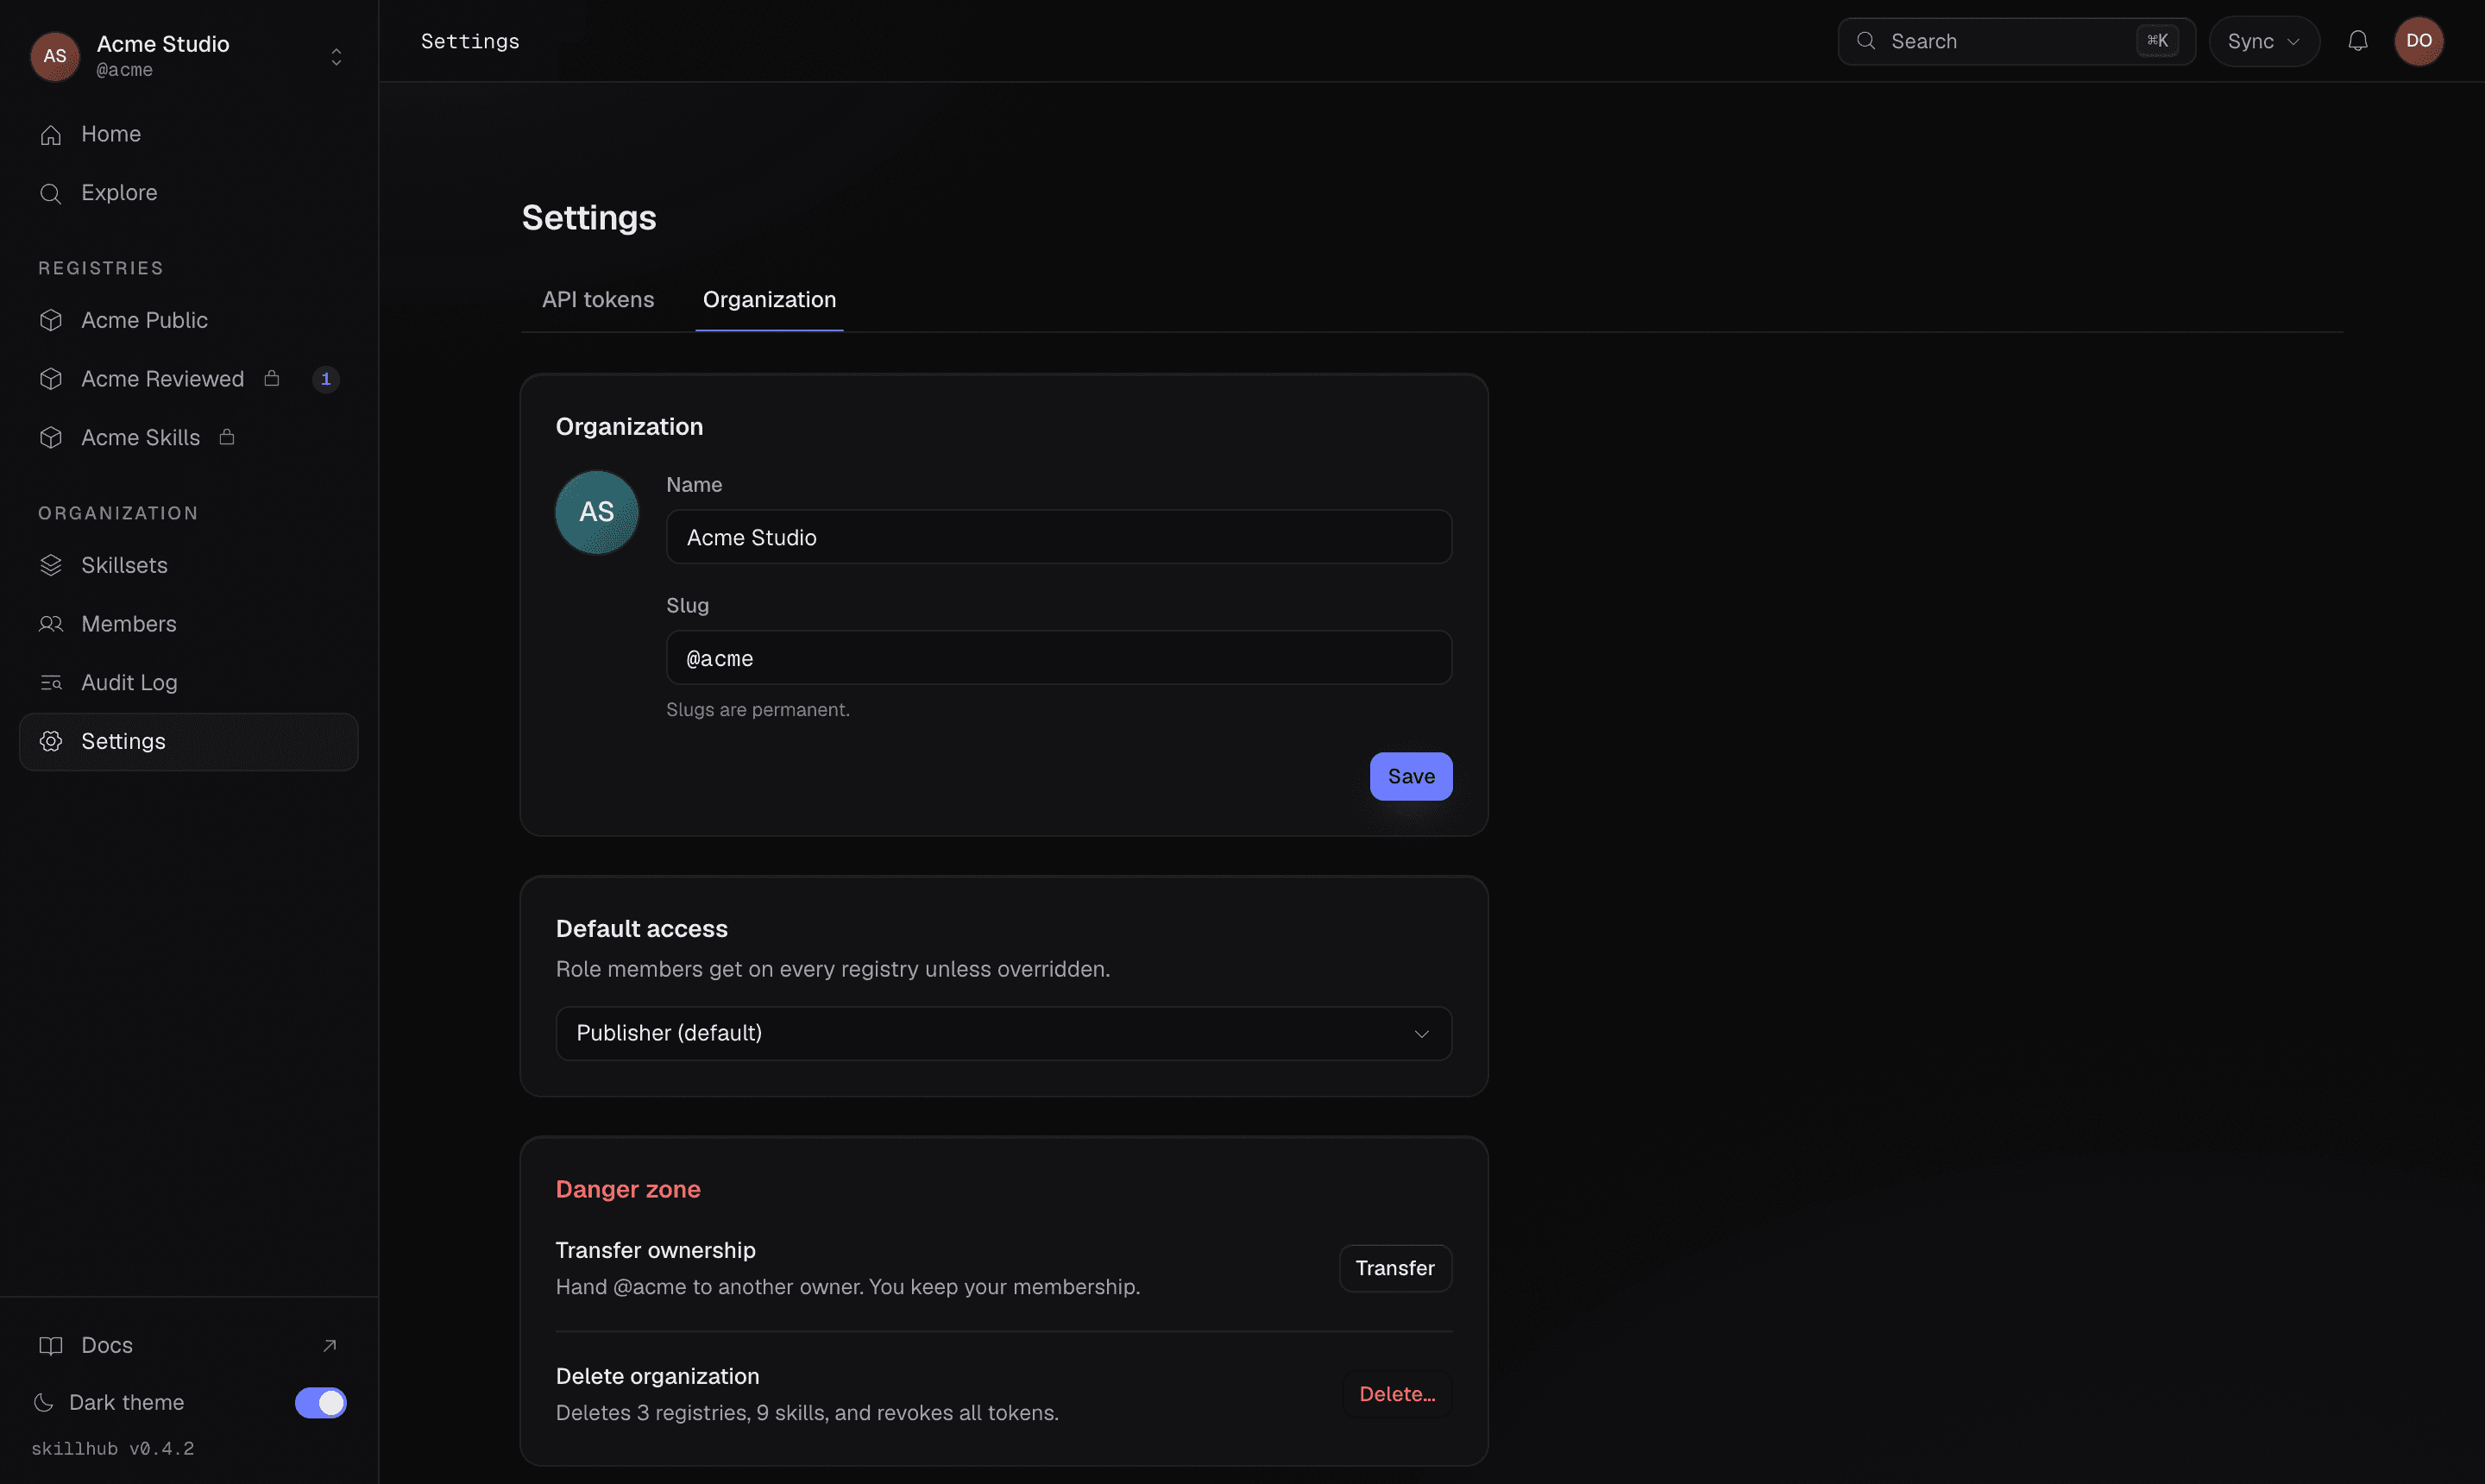
Only owners and admins can change org settings and membership. A
member inherits registry access through defaults but doesn't administer the
org — which is exactly what skillhub org list shows you next to each org.
Step 4 — Issue and scope API tokens
Interactive login uses the browser device flow, but automation can't open a browser. For headless and CI use, issue API tokens — scoped, long-lived credentials you hand to a pipeline. This is the one administrative area where the CLI does the creating and the dashboard does the managing.
The token settings screen
The dashboard's token settings list every token with its scopes, expiry, and last use — and it's the only place to revoke one:
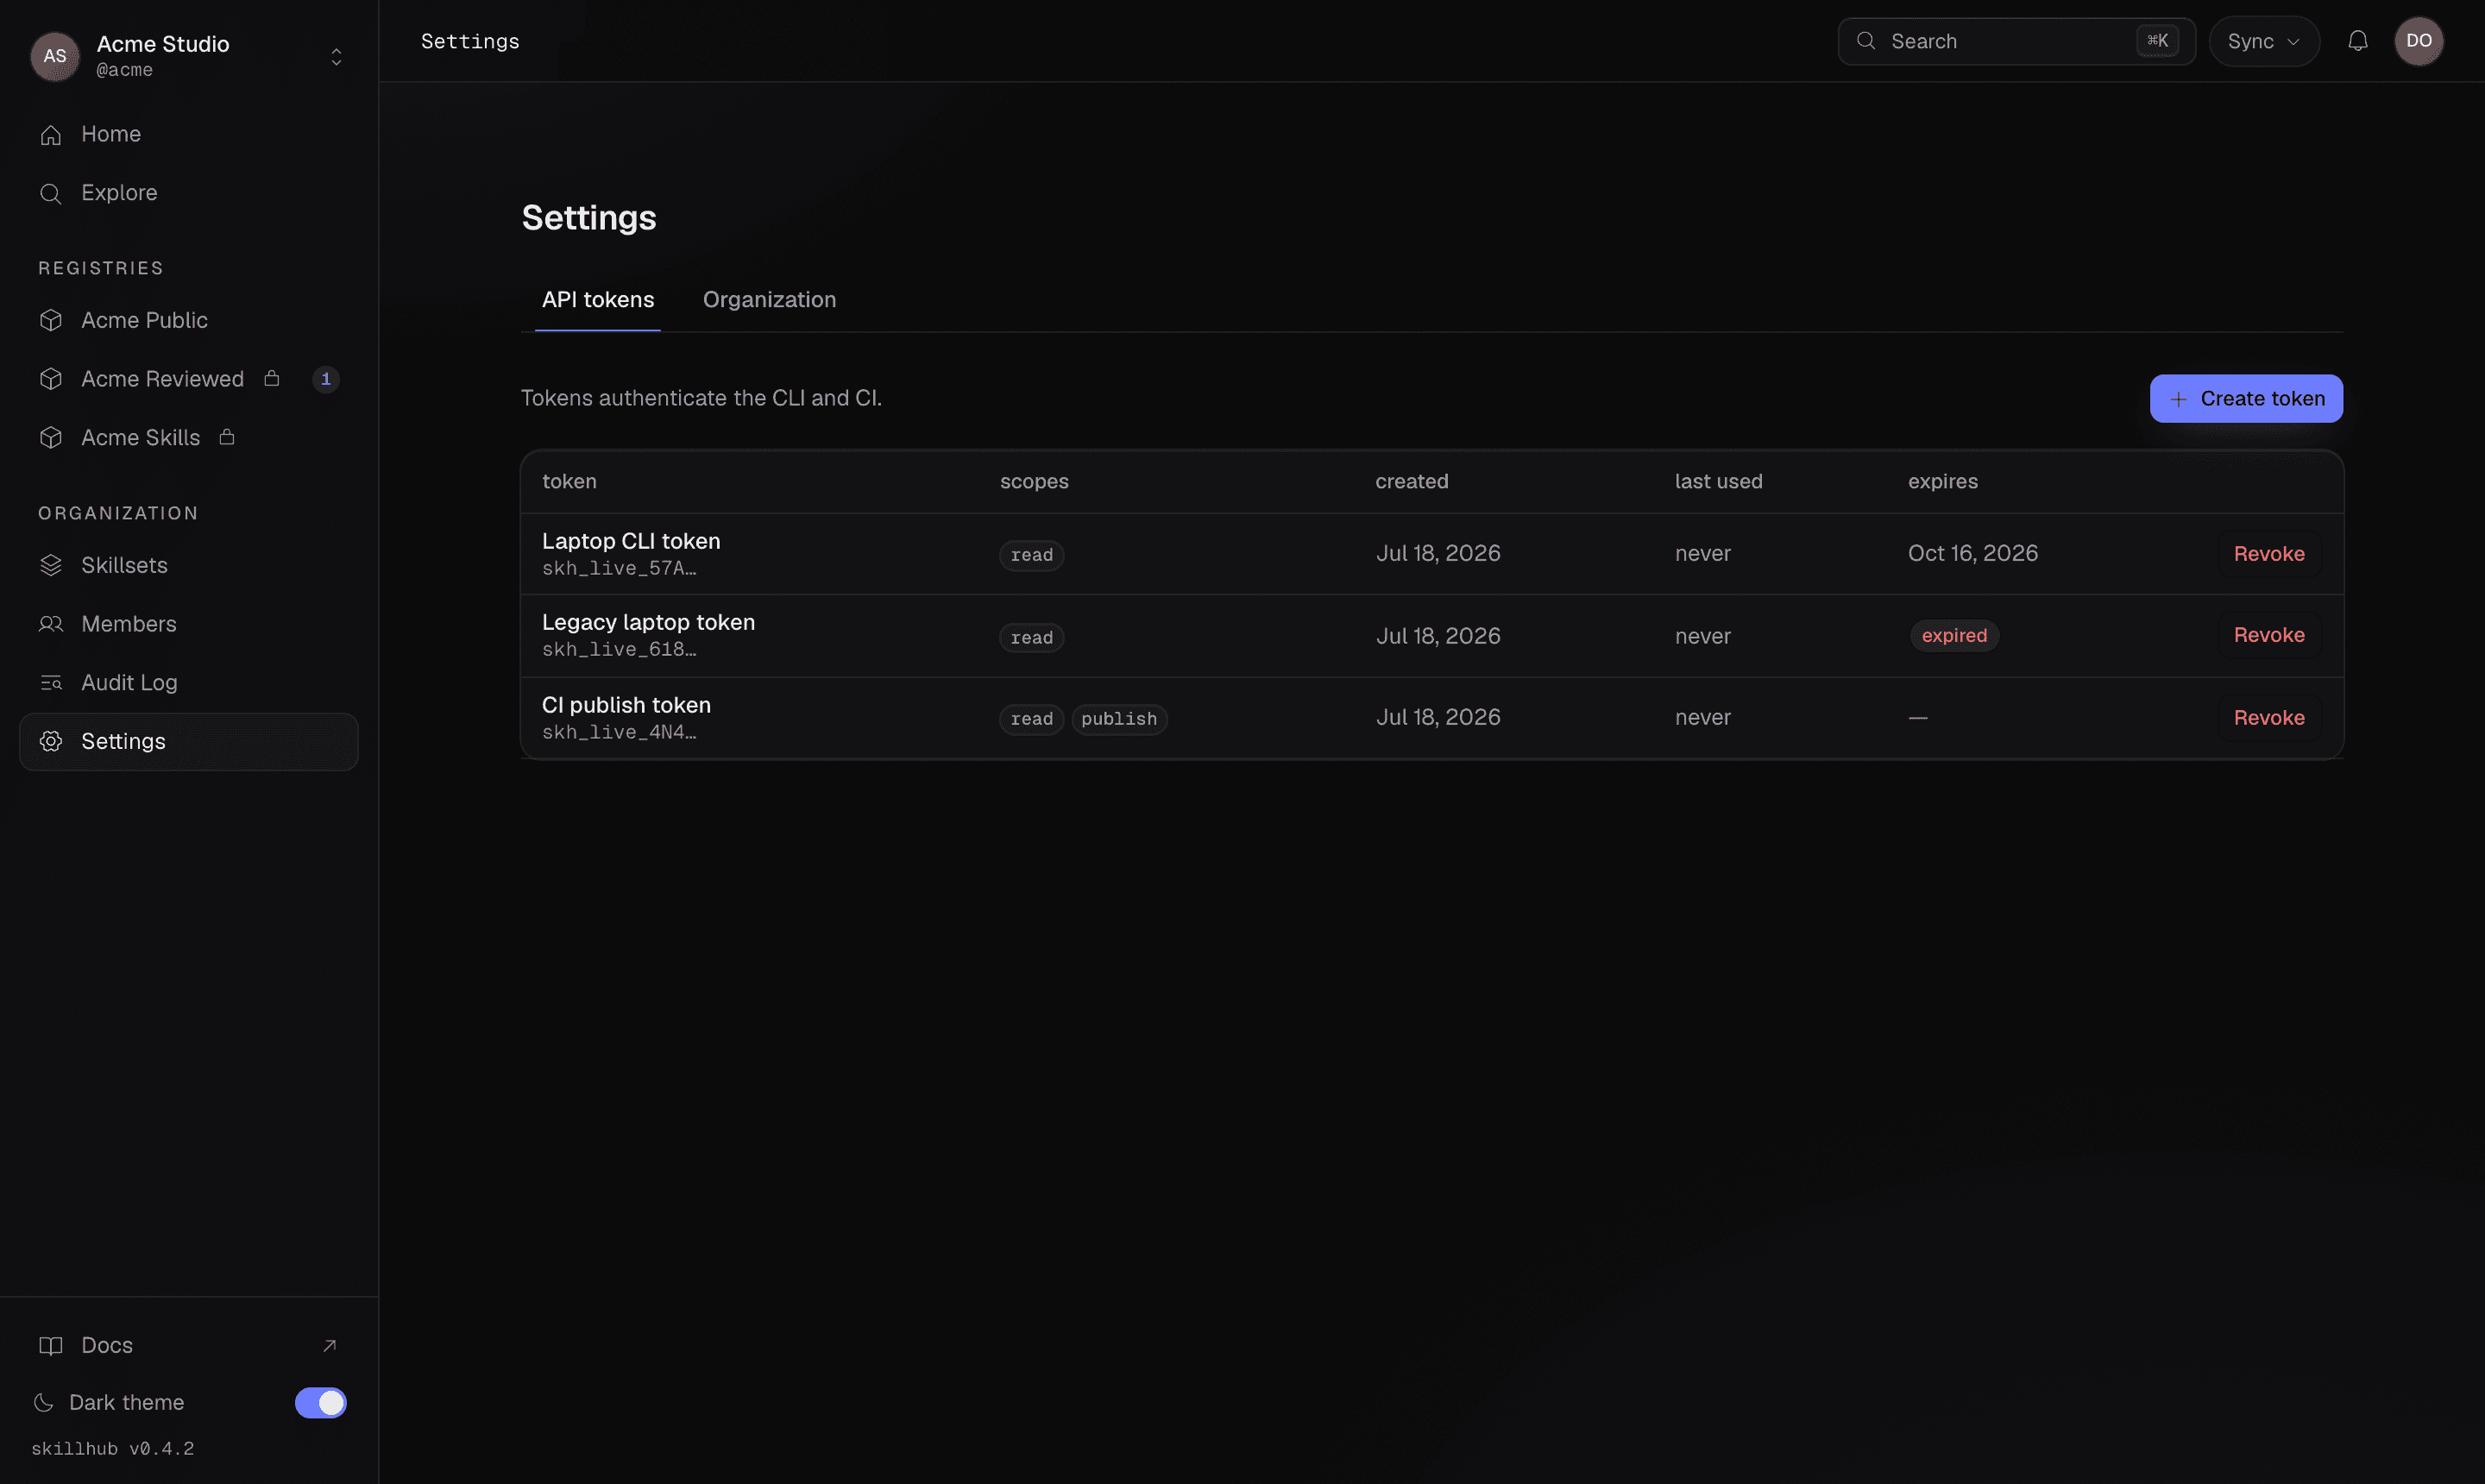
Create a token
skillhub token create mints a token. It requires a --name and a
comma-separated --scopes list; valid scopes are read, publish, and
admin. Scope it to only what the pipeline needs — a read-only install token
takes just read:
skillhub token create --name ci --scopes read,publish✓ created token ci (scopes: read,publish)
skh_live_xxxxxxxxxxxxxxxxxxxxxxxxxxxxxxxx
This is the only time the token is shown — store it now (the server keeps only a hash).To confine a leaked CI token to a single registry, restrict it with
--registry:
skillhub token create --name ci --scopes publish --registry @studio/design-systems| Scope | Grants |
|---|---|
read | Resolve and install skills. |
publish | Publish versions and move dist-tags. |
admin | Administrative actions, including promotion on review-required registries. |
Create the same token from the token settings screen — name it, tick the scopes it needs, and (optionally) restrict it to one registry. The full secret appears once, right after creation, exactly as it does on the CLI. Copy it into your secret store before you leave the screen.
A token's full secret is shown exactly once — at creation — and never again;
the server stores only a hash, so it can't be re-displayed. A live token looks
like skh_live_ followed by 32 characters. Scope it tightly (only the scopes
and, where possible, the single registry it needs), keep it in a secret store,
and revoke it from the dashboard the moment it leaks. Listing and revoking
tokens are dashboard-only — the CLI creates tokens, it doesn't manage them.
Use a token for auth
Once created, a token authenticates automation two ways:
-
login --tokenstores it like any other credential (OS keychain, falling back to a0600-mode file):skillhub login --token skh_live_xxxxxxxxxxxxxxxxxxxxxxxxxxxxxxxx -
The
SKILLHUB_TOKENenvironment variable — set it in CI and skip the login step entirely. It takes effect with nothing stored on disk and stays active even afterskillhub logout.skillhub whoamireportstoken: from the SKILLHUB_TOKEN environment variablewhen it's in play, so you can confirm CI is using the token you think it is.
For the complete scope table, per-registry restriction, and --json payload, see
API tokens and the
token CLI reference.
Step 5 — Audit everything
Administrative actions are recorded. The org's audit log is a durable, dashboard-only trail of who did what and when — member and role changes, token creation and revocation, publishes, and promotions on review-required registries. Nothing about an administrative action is silent.
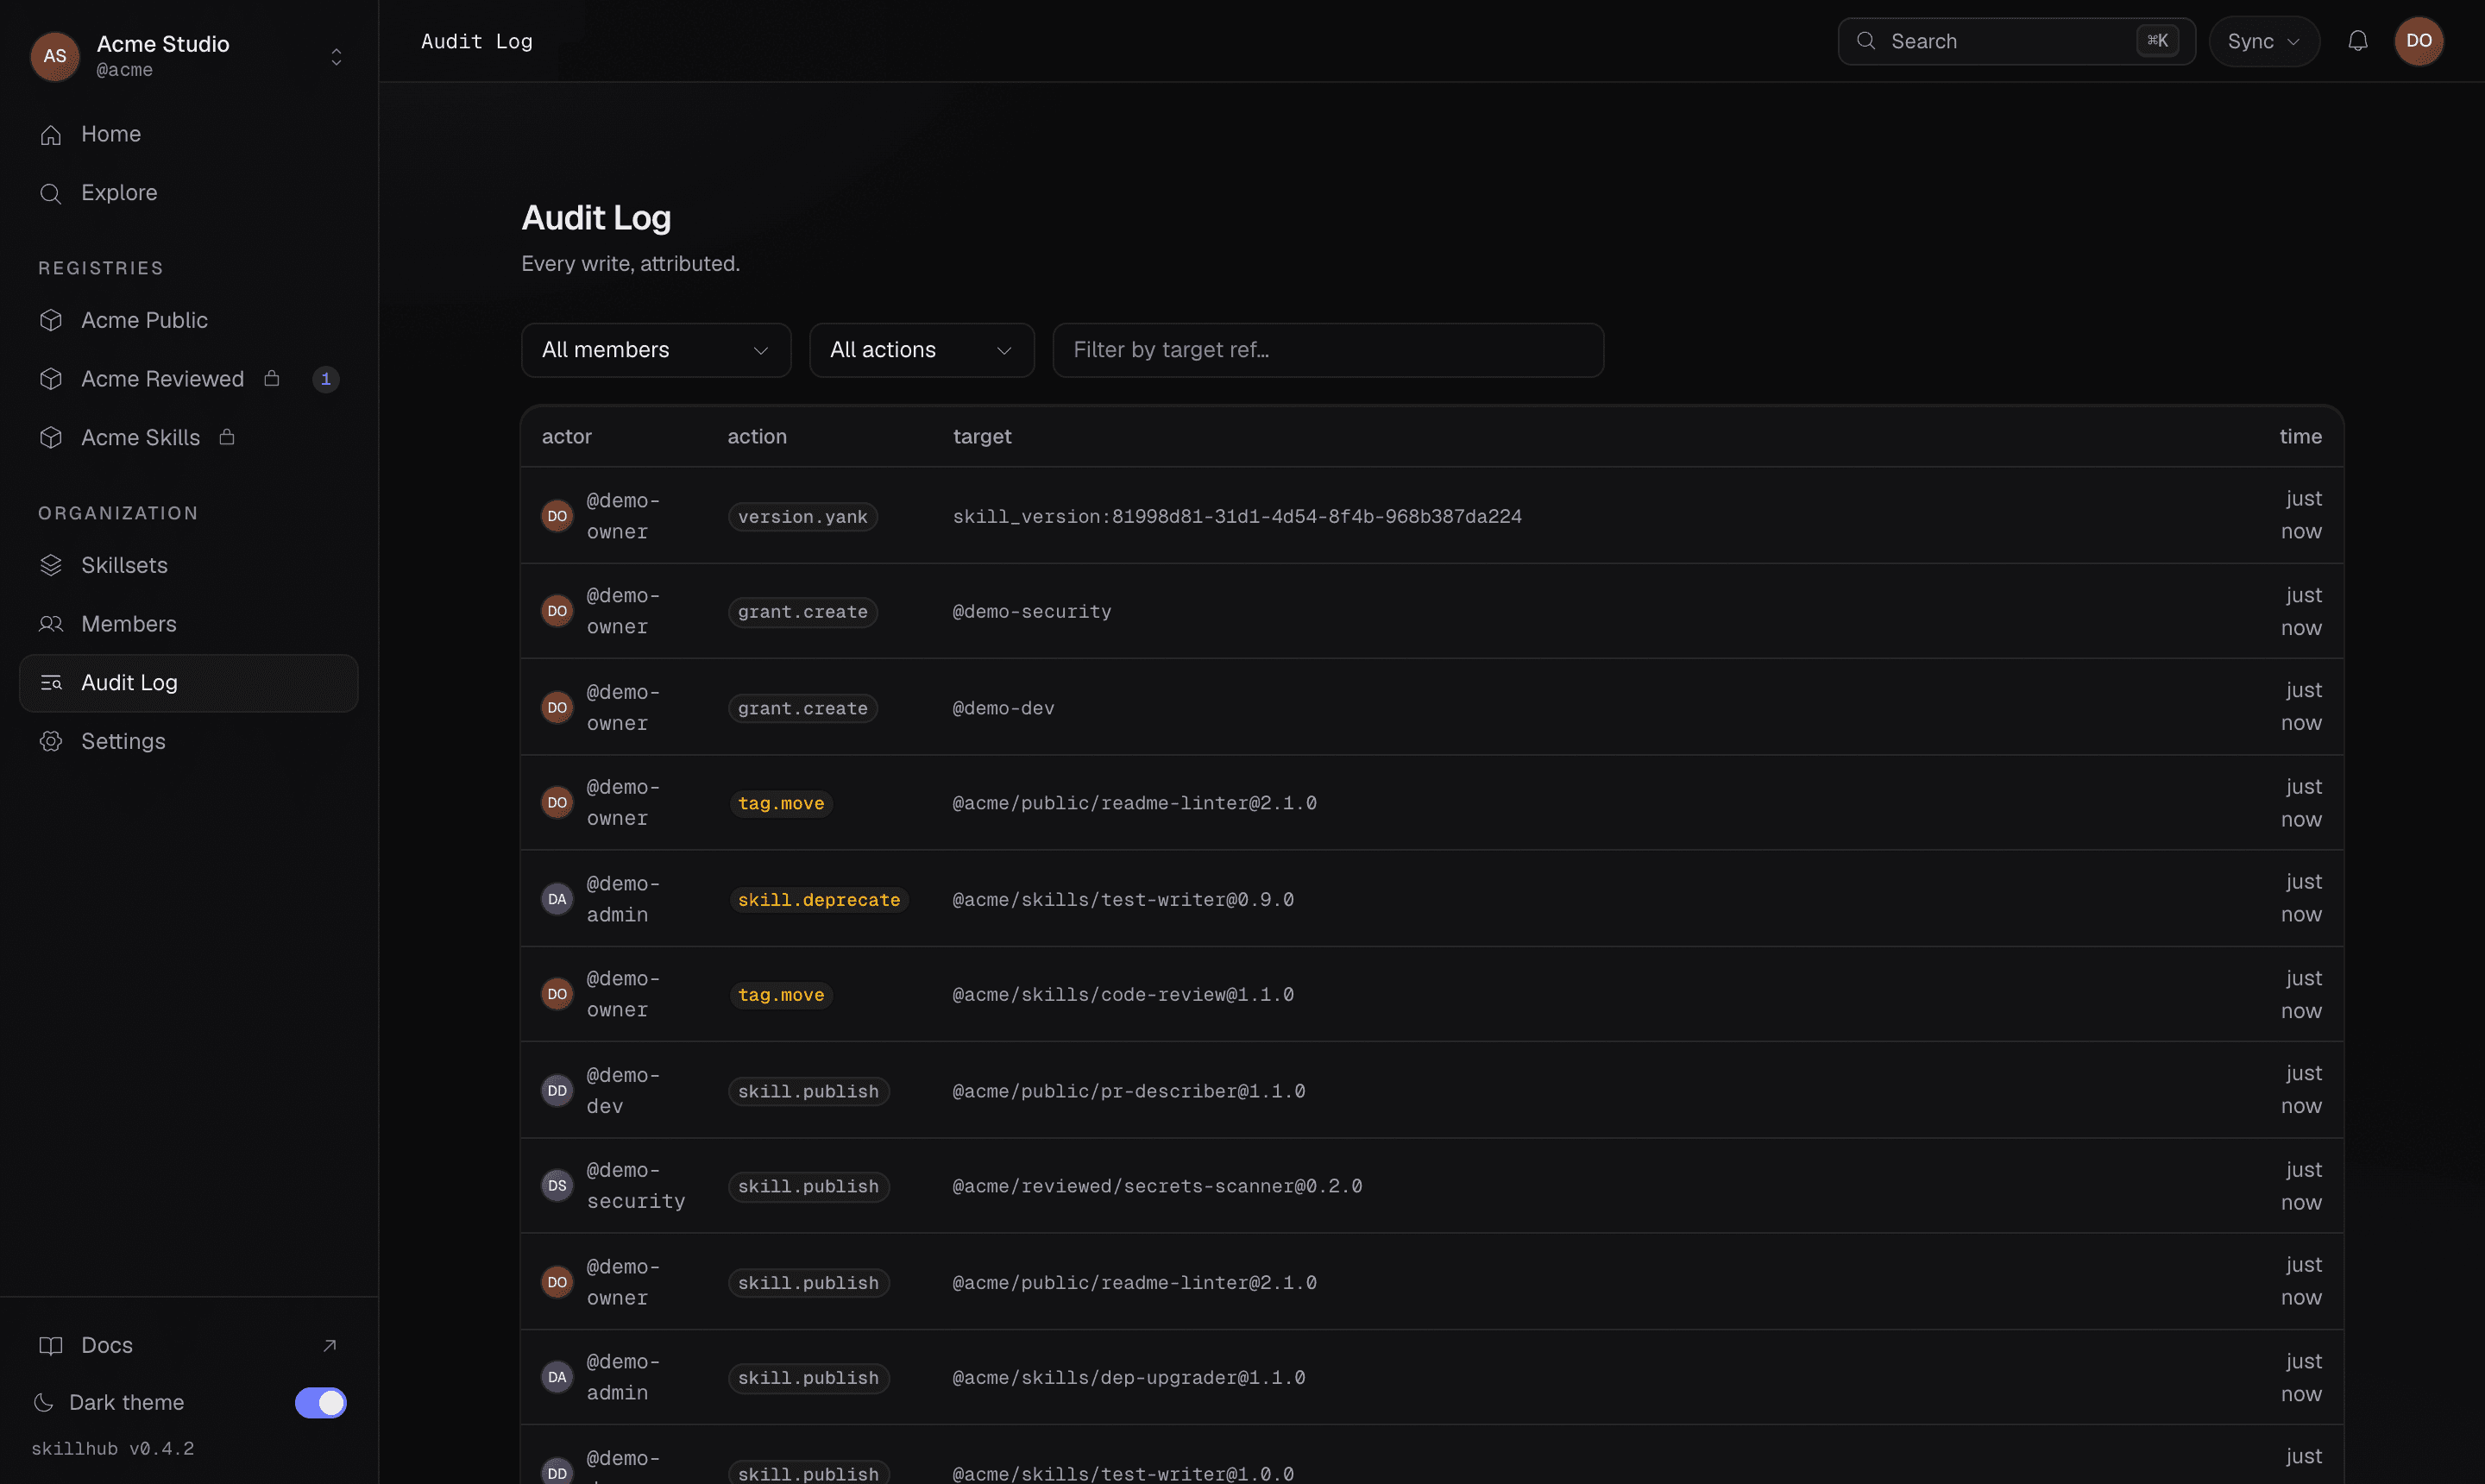
The audit log is read-only and lives only on the dashboard — there's no CLI command that reads or writes it. It's the record you consult after a token leak or a disputed role change to see exactly what happened.
Where to go next
Organizations & roles
The model behind this flow: org vs. registry roles, inherited defaults, and explicit grants.
API tokens
Scopes, per-registry restriction, and the token shown once — in depth.
org reference
The org list command and its --json payload.
token reference
Every flag on token create and the full --json shape.
registry reference
list, create, and invite — including per-registry grants.
whoami reference
Identity, token source, and the effective registry URL.